When we left off, we had just finished up the kitchen sink. Major construction in the kitchen was pretty much complete. What was left???
The ceiling. Ceilings are difficult to do even when your just painting. But Robyn wanted more than that. How much more difficult we didn't realize until we got started.
Robyn has found a lot of great ideas on Pinterest. We've incorporated some of them, such as the suspended shelves.
We wanted to do a tinned ceiling in the kitchen. Real tin was out of our price range and the plastic stuff, even though it was still expensive, just didn't quite look right. Robyn found an alternative on Pinterest... wallpaper.
That's right. Wallpaper on the ceiling. Specifically, a damask patterned wallpaper
I researched how to install it and one Saturday morning we got started. The wallpaper was pre-pasted so we cut off a section just a bit longer than the room... just over 15 feet... and dunked it in a tub of water.
I climbed the stepladder with the wallpaper tools, and one end of the wallpaper draped over my head. Robyn was a few feet behind me holding the wallpaper over her head and off the floor with a broom. I used the wallpaper brush to get a light stick and then the squeegee tool to get it stuck better. Robyn stayed a couple of feet in front of me supporting the unhung wallpaper with a broom.
That may sound easy, but it wasn't. After much cursing, we had the first piece up...

Did I mention there was a lot of cursing??? After the first piece was up, Robyn was ready to give up, but we decided to work with smaller sections.
Damask wallpaper is really interesting. It has a lot of detail and the pattern repeated about every 22 inches. I spent the next several minutes trying to match the pattern of the wallpaper on the ceiling to the roll of wallpaper in my hand.
Once I got it matched up, I cut off a section a little shorter than the span of my arms, about six feet, dunked it in the tub of water.
Did I mention that wallpaper when it gets wet stretches. After the second row, we learned that it was impossible to get an exact pattern match the full length of the kitchen.
Taking frequent breaks because of tired arms and frustration over how difficult it was to apply, we were almost completed a few hours later.

A couple of more hours and we had the rest up. The seams needed to be worked on but it came out fairly decently.

A weekend or two later, I was back up on the stepladder fixing the seams and getting the crown moulding up.


We're pretty pleased with the results. The rest of the summer was pretty consumed with gardening and putting up produce.

Pepper Jelly

Pasta Sauce

Louisiana Purple Pod Snap Beans

Beets

Corn
And a whole bunch more stuff.
Work on the house was still going on but at a much less intense pace. We got the molding up in the kitchen.

...decorations on the wall.

And a door to access the drain and water valve for the dishwasher.

The new hinges I bought didn't allow the panel to close completely so I salvaged some of the original hinges from the cabinets we had torn down and painted them. That worked a lot better.
Around the middle of September, our gardening, and work on the kitchen, was interrupted by some vandalism. Someone decided to throw chunks of concrete through the porch windows.

One chunk made it all the way through to the our big living room picture window, the only window in the whole house that didn't need replacing.

With a $1000 deductible for our homeowner's insurance, we face the decision of whether to do it ourselves or report it to our insurance and get someone else to fix it.
As I priced out our options, I figured out for about $1,000 I could fix the storm windows on the portion and replace the living room window, plus replace the storm door on the front porch with a sturdier door, plus replace the back kitchen door.
So first fix was to the two busted storm windows. I got two pieces of clear acrylic which I trimmed to size.
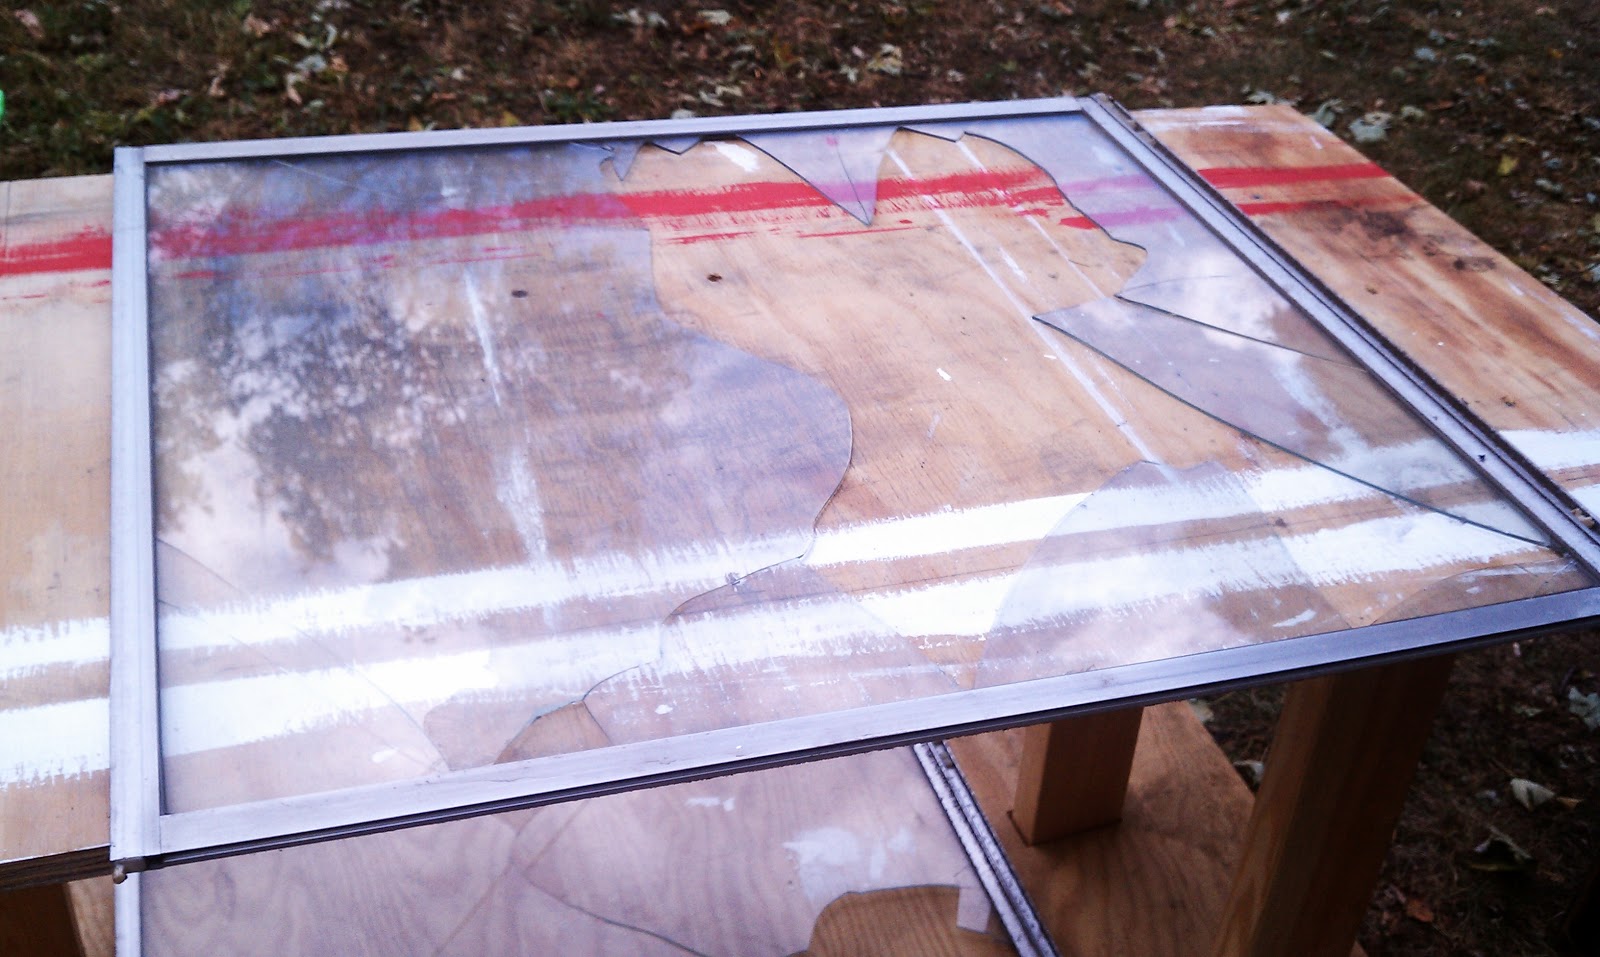
Fixing these was a lot easier than I expected... Apparently so easy I forgot to take a picture. Next, I took off the old screen door. (It was in good enough shape that I put it on the neighborhood forum and someone took it to use for their home.)

A couple of hours later, I had rebuilt the door frame to adjust for the sloping porch and the smaller door size...

... and the door was installed, along with spray foam around it.

The new wood was primed and we had a nicer entrance. On to the back door...

It was the cheapest external grade door you could by and hard to shut.

With no window, we couldn't see who was knocking on the back door (the way most people come). I also wanted to change the way it opened.
I'd previously put some spray foam around it to slow down the leakage.

And as you can probably tell, whoever had installed this door, didn't take time to make it look decent.


Replacing this door was a bit more involved than the front porch door but it still only took a couple of hours.

As you can, I am fond of spray foam. Trimmed up the door, inside...

...and out.

Once the doors were installed, it was back to the kitchen while we waited for the living room window to come it (it was a special order.)
First thing, was taking care of one of Robyn's "honey do's"...

... a shelf for plants over the kitchen sink. (It catches the afternoon and evening sun.)
One of our goals for the kitchen was to make it more of a social center. The old back porch had been enclosed and the back wall knocked out of the kitchen to expand the kitchen. We decided we would turn the area into a nook.
First order of business was to build some benches with some built in storage.

I framed up the benches out of 2 X 2's. It took a couple of weekends to get them done so I had to fix a place for the cats to eat.

Because the benches were extending past the electrical outlets...

I had to move the outlets. I spliced an extension inside the old box, put a cover over it, built a box around it and put a new outlet on the outside of both benches.

The next weekend which was the first weekend of October, I finished on the benches with some piano-hinged lids.

We also gather the winter squash from the garden.

I'd hoped to leave them in the garden a bit longer but the squirrels had found them and were in their fall feeding frenzy getting ready for winter.

By the second weekend in October, the new living room window had arrived. It's a vinyl window but with a woodgrain finish on the interior.

Because we had to replace the window, we took the opportunity to get a window with a bit more architectural interest (it has a transom window) which was more to the scale of the living room.
...and yes, more spray foam.

Work on the house was pretty much on a hiatus for the next 2 or 3 months. But Robyn always had her eye out for a decorative element which fit the house.

After the first of the year, I started back on the nook. After washing down the walls, 
priming of the walls began. I also had a new phone which had the capability to stitch together panoramic photos.

In smaller areas, the stitching together isn't seamless.
This was really the first room where we had challenges with painting. All of the other rooms had been pretty much empty. This one we were using so the west side of the room was painted.


The next weekend, the second weekend in January, I got started on the other side of the room. However, when I took the light fixture covers off, I could feel a breeze blowing in. Time for my old friend, spray foam...

I drilled 1/4 inch holes in the wood paneling and filled them up until the spray foam started coming out of the next hole. 20+ cans later, we were ready for priming.


Once the walls were painted (see the background), it was time to start on the light fixture.

We had a hard time finding something we like so we picked up an inexpensive ($8) fixture from Home Depot.

...and spray painted it orange.


With the walls painted...

Robyn could start thinking about how she wanted to decorate the room. Her first piece was this Peter Maxx-designed vintage 7-up sign.

You also get a good look at the rest of the kitchen.
We were narrowing down our choices for floor covering in the nook. It needed to be something all-weather since this was our primary entrance to the house. I laid down a coat of primer so we would have a better surface.

Copper got a bit noisy and had to go check it out before the floor was dry.

I found the incriminating evidence on his feet.

Final item, before we could install flooring was the molding for the bottom of the walls and doors. I used a stain/polyurethane mix.
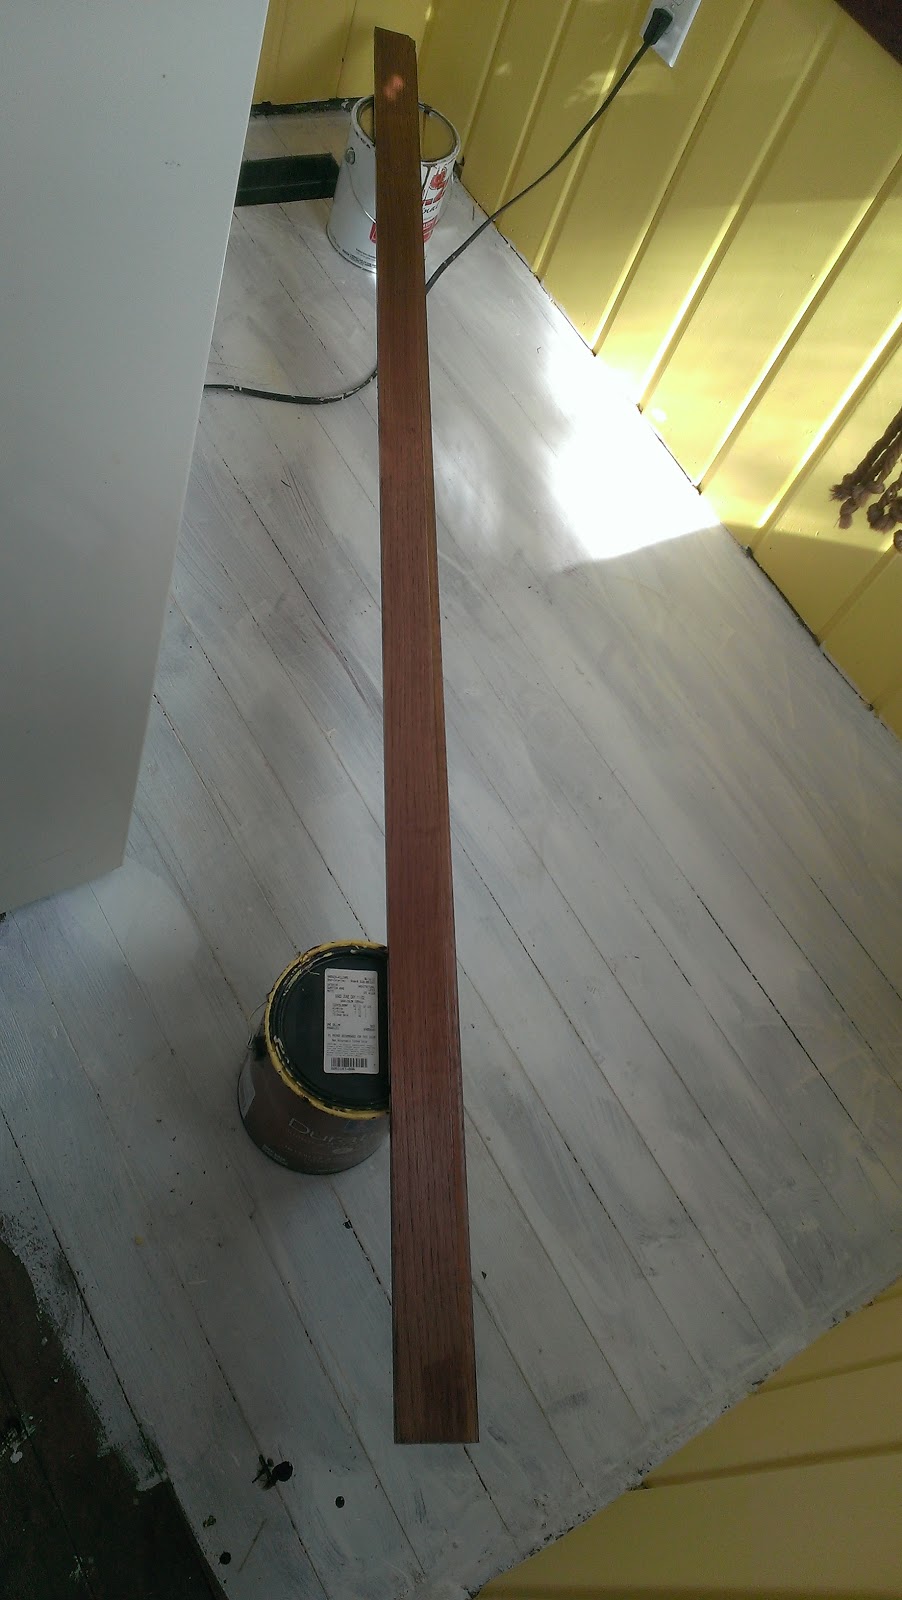
I stained the molding first before I cut it with my compound miter saw. On the very first cut, the guard go hung on the blade.

I got a nice little cut on my thumb unjamming it. (Yes that is my blood on the guard.) At the same time, we also stained the door trim.

The pneumatic nailer made short work of getting the trim up once it was stained.

A couple more coats of orange paint on the benches along with 3 coats of polyurethane.

And I could prime the other half of the nook floor.

Robyn and I headed off to Home Depot to look at flooring samples. Ultimately, we decided on an indoor/outdoor carpet. While we were waiting for them to come measure...

We got a bit more decorating done. The lion and the caricature frame was another one of Robyn's vintage store finds. Being the klutz that I am, everything on the shelf is held on with velcro. The shelf itself was from Target, painted with paint leftover from the light fixture.
It seemed to take longer than it should be about 3 weeks after we ordered the carpet. We got it installed.

We moved the vintage table Robyn had found and one of the two Ikea chairs back to the nook.

The breakfast nook was complete and the kitchen was ready to serve as a social center of the house.

Which it did while Robyn's son, daughter-in-law and grandkids visited us from North Carolina.
Now we have to decide what to do next.
No comments:
Post a Comment