Also in the spring of 2013, we started to work on that scary slope on the side yard. I was afraid to mow it because the slope was so steep. Another one of Robyn’s Craigslist finds, she found a discontinued line of Anchor Blocks that we bought directly from the factory for about 10% of what they would have cost us at one of the big box stores.
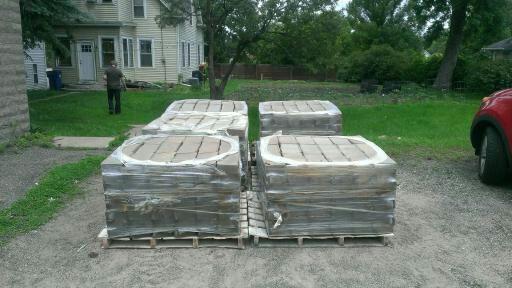
At 16,000 pounds total weight, it was more than I could carry in the back of my pickup so we had them delivered. As usual, I overestimated what was needed so we were able to do a couple of other pet projects .
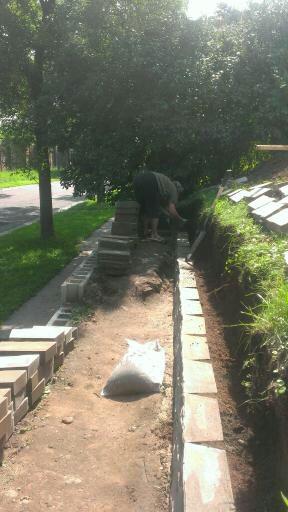
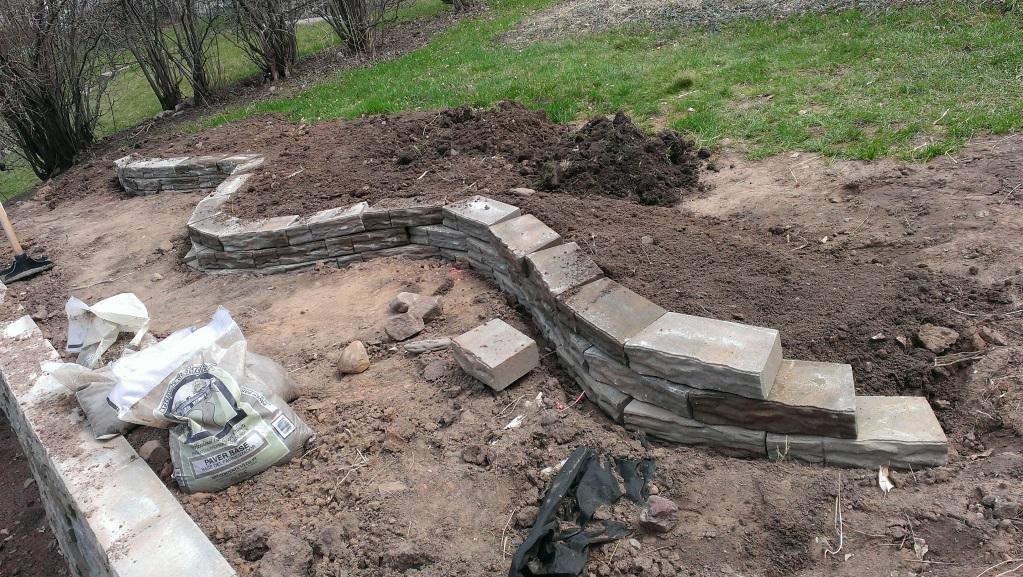
To meet code requirements, we needed to keep the wall less than 2 foot tall (and frankly I didn’t want to go higher than that anyway.) To do that, we decided to terrace the slope, digging back 4 foot from the existing wall by hand. A base layer was put down, compacted and then the blocks were laid with a piece of plastic drain tile behind the wall with a weed barrier.
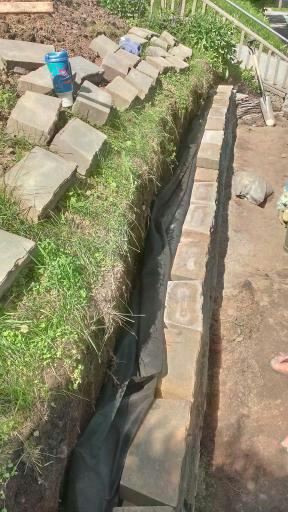
After we built this first wall, we unfortunately learned that you should fill up behind the wall as you set the blocks. We sat on it and it fell down.
Robyn was an awesome helper. Moving blocks like a champ. One of the side benefits to building the wall we found after that first weekend is nothing is wrong with Robyn’s heart. She started having chest pains Sunday evening after the first weekend of work and we made a quick run to the emergency room. Tests the next day confirmed that she had strained her pectoral muscle and her heart was 100% a-ok.
Whew!
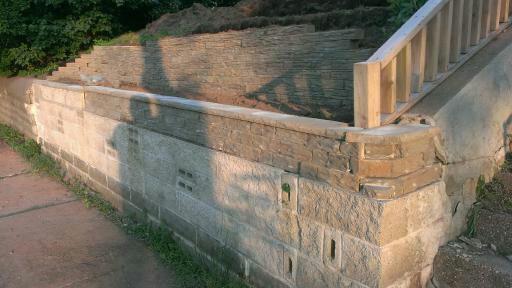
Both ends of the retaining wall were curved to match the existing slope as well as the stairwell walls.
I had estimated that the wall would be 35 foot long. And if we could have made it to the edge of the property line, it would have been that long. The gorgeous lilacs that are along that edge of our property blocked us though.
The existing retaining wall on that side had been repaired sometime in the past but the repair was never completed. I used some of the blocks to cap the open blocks that people walking down the street would stuff trash into.
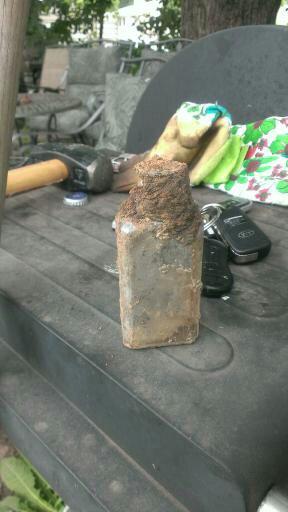
For being at the top of a hill, I was surprised at the number of river rocks we found, but this was the only bottle we found.

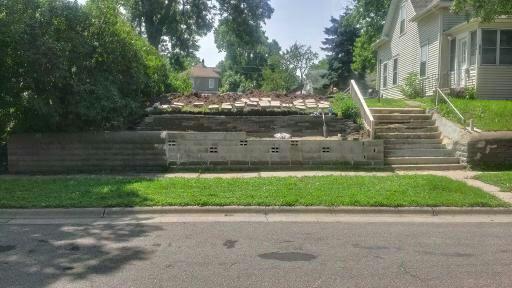
Before the ground froze, we were able to get the second terrace dug out and that wall built.
This was as far as I had originally planned to go with the wall but we had nearly half the blocks left. So spring 2014, as soon as the ground thawed, the next phase(s) of the project started.
One of the things I admired that Mrs. Iverson had was her tulip bed.
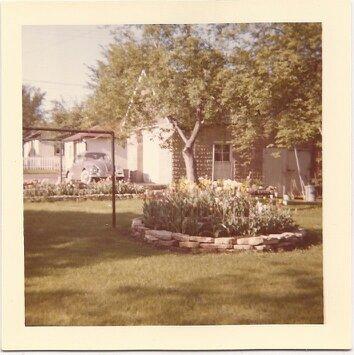
Robyn and I thought it would be a neat idea to recreate it. The old stones were mostly missing; there were some strewn around different places in the yard, next to the garage and maple tree, but not enough to rebuild the tulip bed completely.
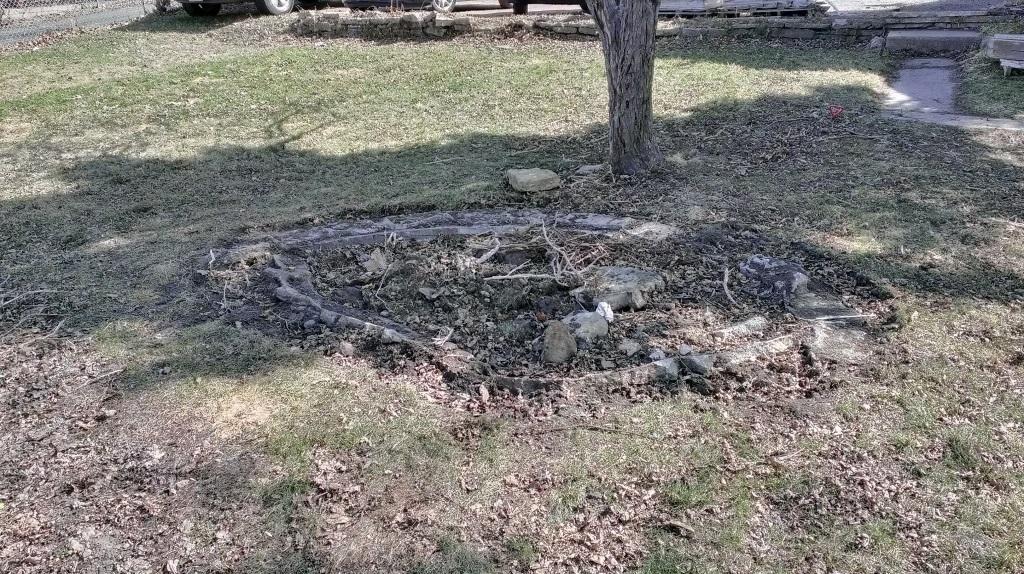
The foundation of the original tulip bed was still there. We had been using it occasionally as a fire pit.
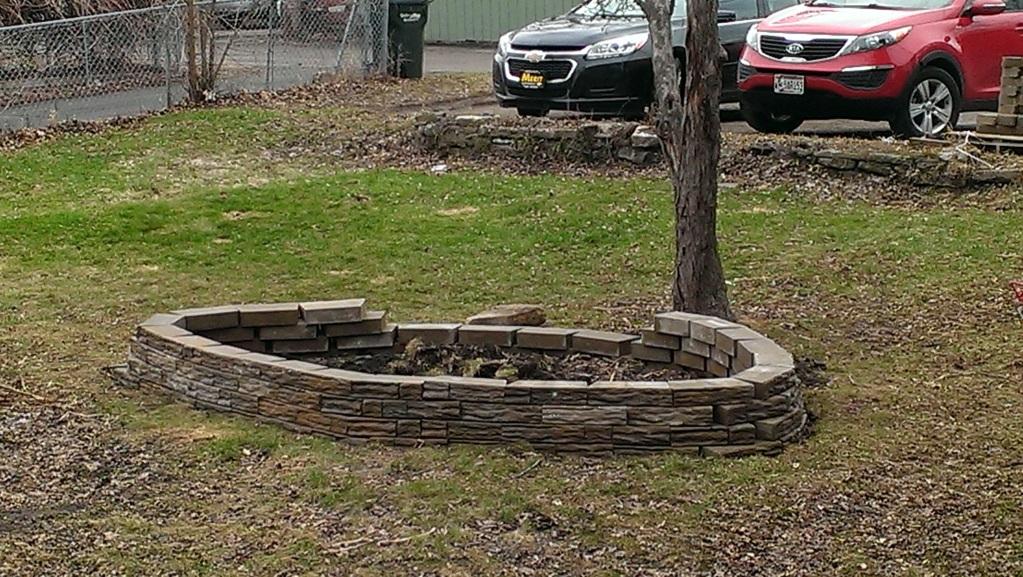
We cleaned up and leveled the foundation and started laying blocks.
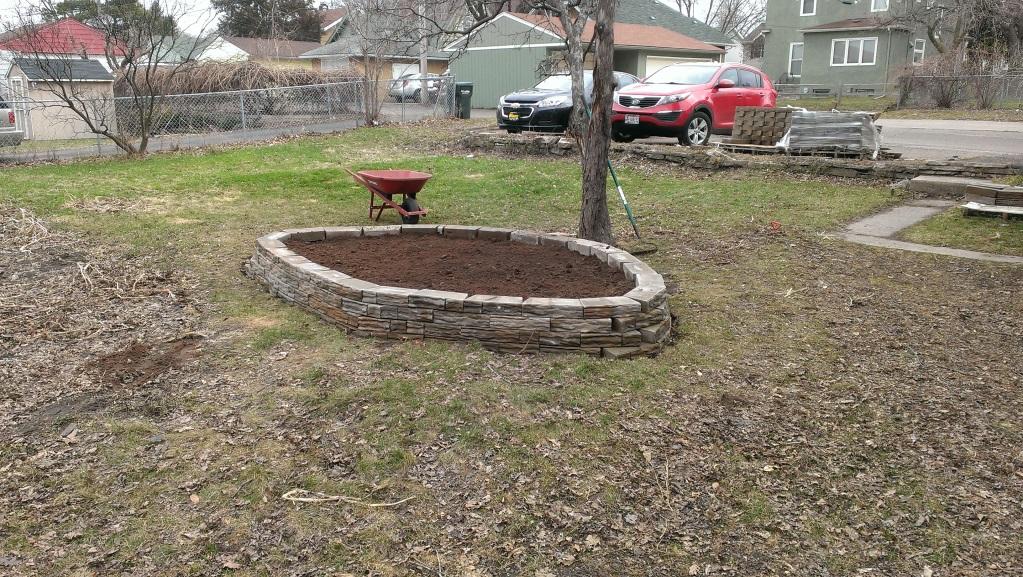
We had plenty of dirt leftover from digging out the front retaining walls. About 20 wheelbarrows full went into the bed and then it was topped off with about 6 inches of a good potting soil. (Note the leftover blocks in the background.)
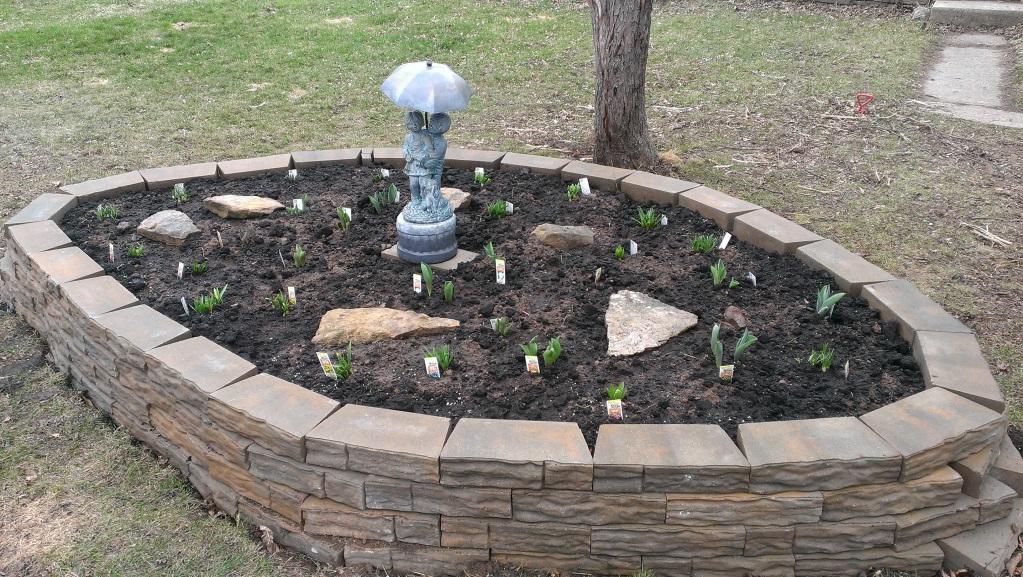
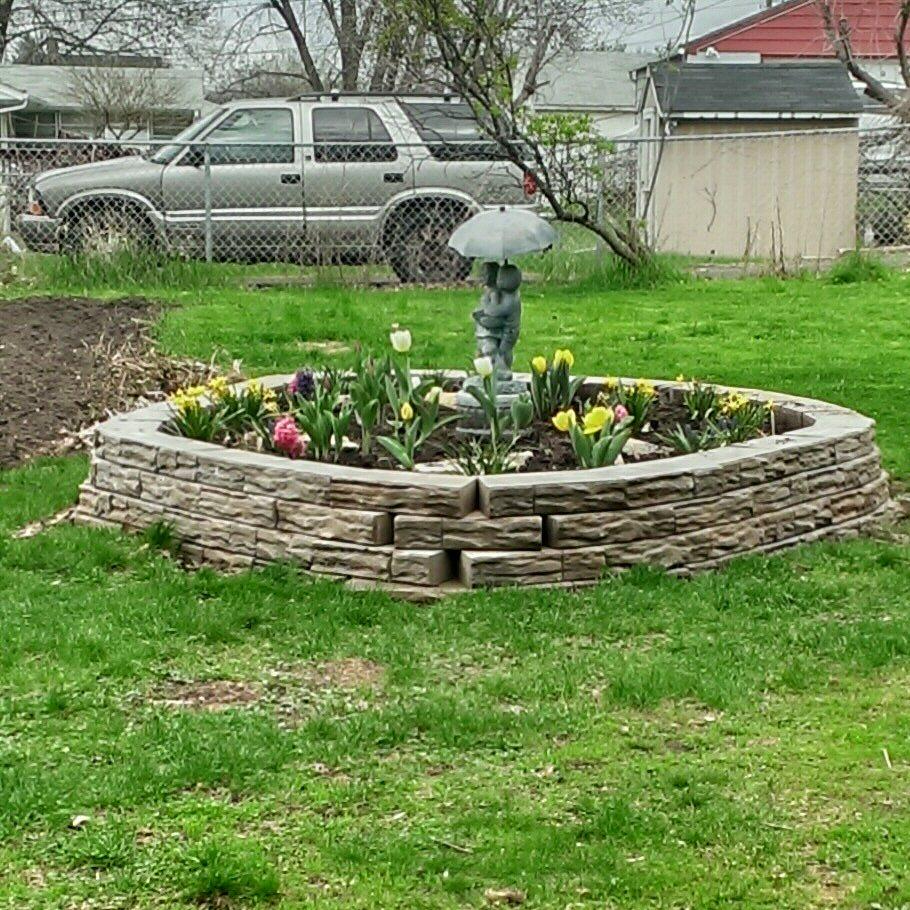
We salvaged some of the old stones; planted some tulips, daffodils and hyacinths, and added a statute we picked up from our friend Sue's mom’s garage sale.
And then back to the front of the yard.
One of the challenges we had with our yard was everything drained from the back southeast corner to the front northwest corner where the steps were.
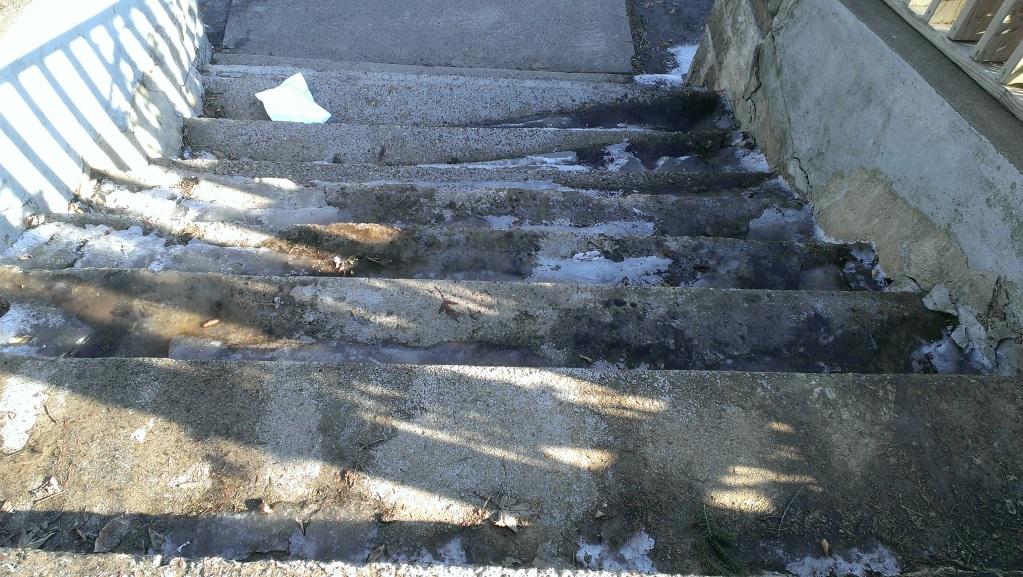
This made the steps treacherous during the thaw/refreeze cycles we went through every spring. So I set out to rectify that.
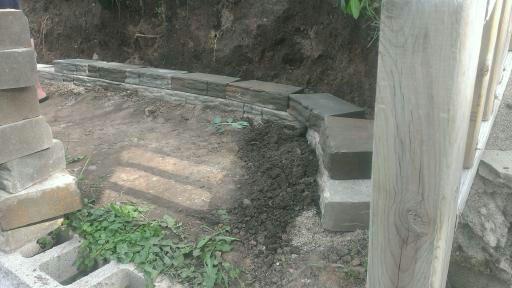
I dug back another 3 or 4 feet and laid another layer of blocks. While I didn’t put drain tile behind this level, I did put a layer of paver base and compacted it. The tamper is in the background on the left.
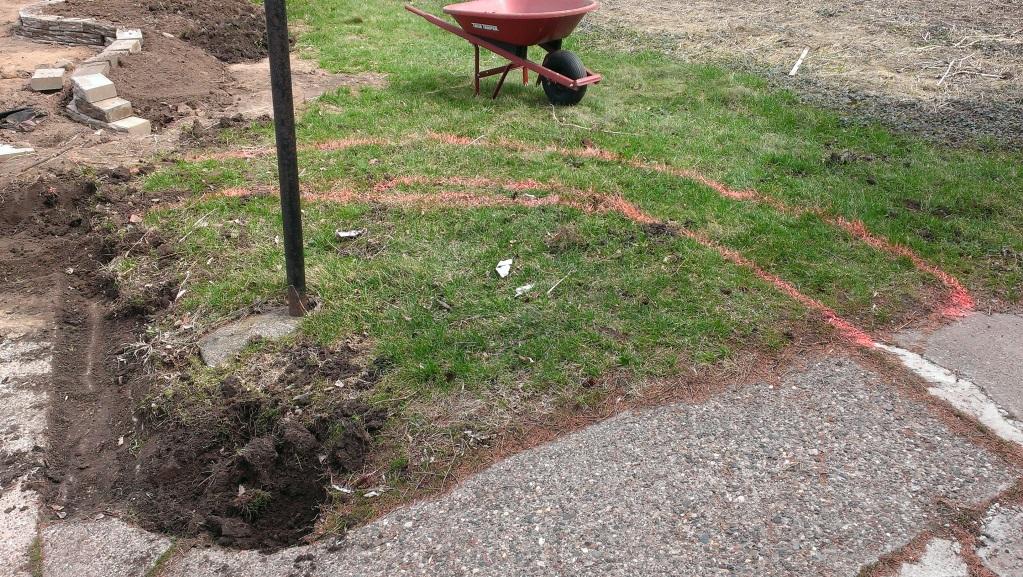
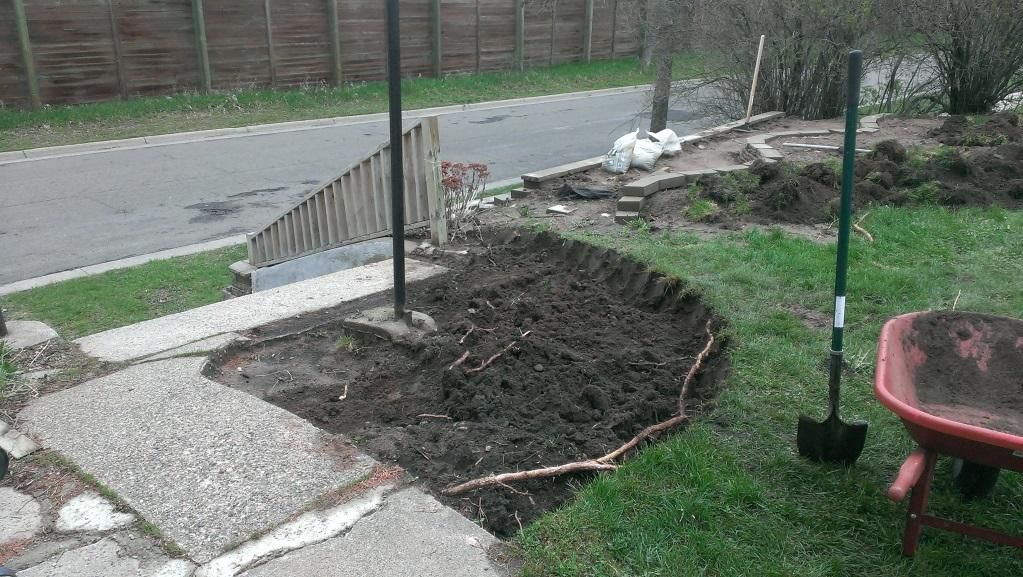
Using some marking paint, I outlined a quarter circle I was going to dig back from the steps.
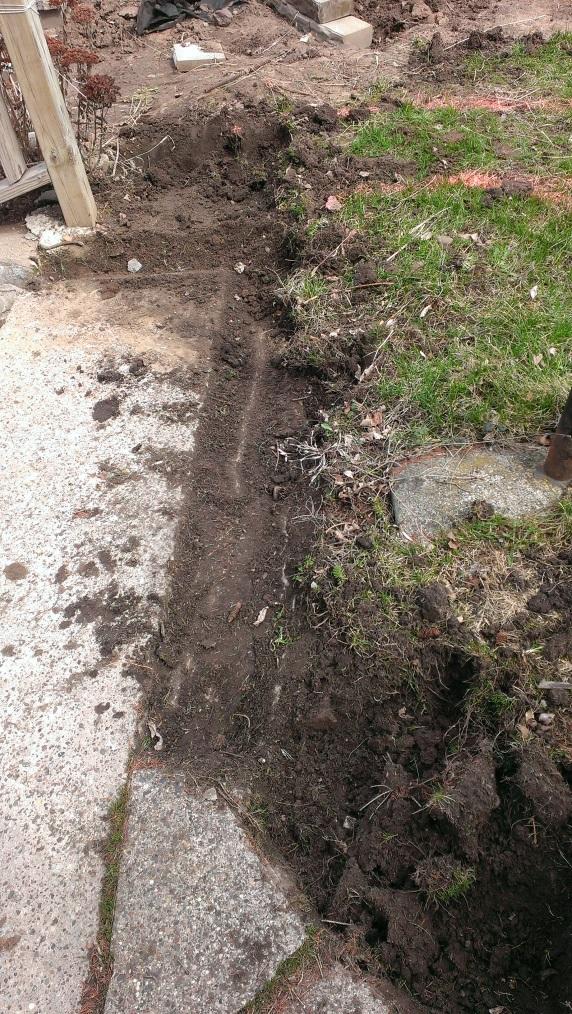
As I was digging it out, I found that an existing trough to route the water away from the steps had filled in over the years.
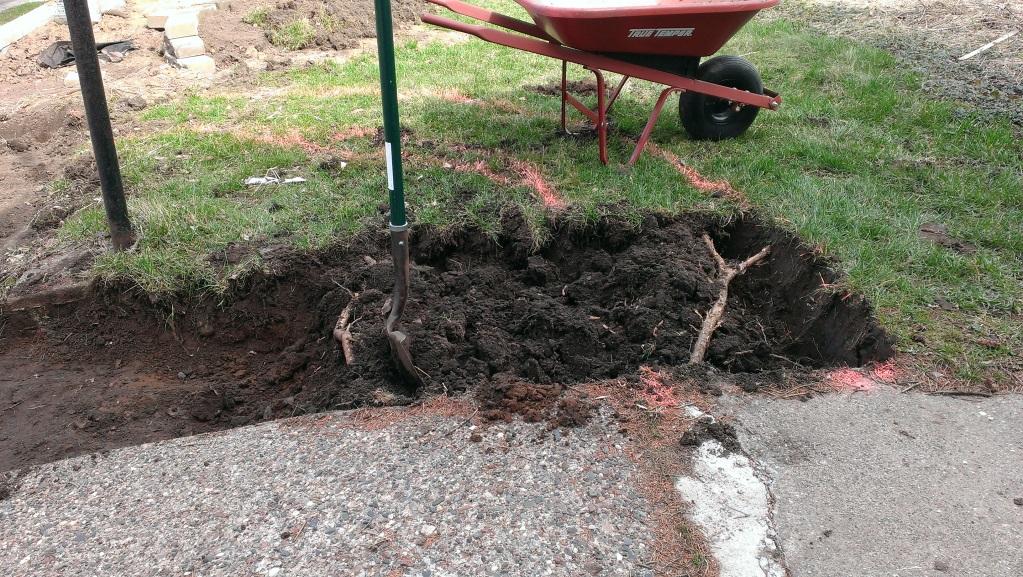
This section was actually more difficult to dig out that the retaining wall because the roots from the spruce tree in front of the house had grown over to this side of the yard.
The dirt that was dug out went behind the newest section of the retaining wall. Eventually it would be used to re-slope that part of the yard to direct the water flow towards the lilacs. (Note in the background they are just starting to bud.)
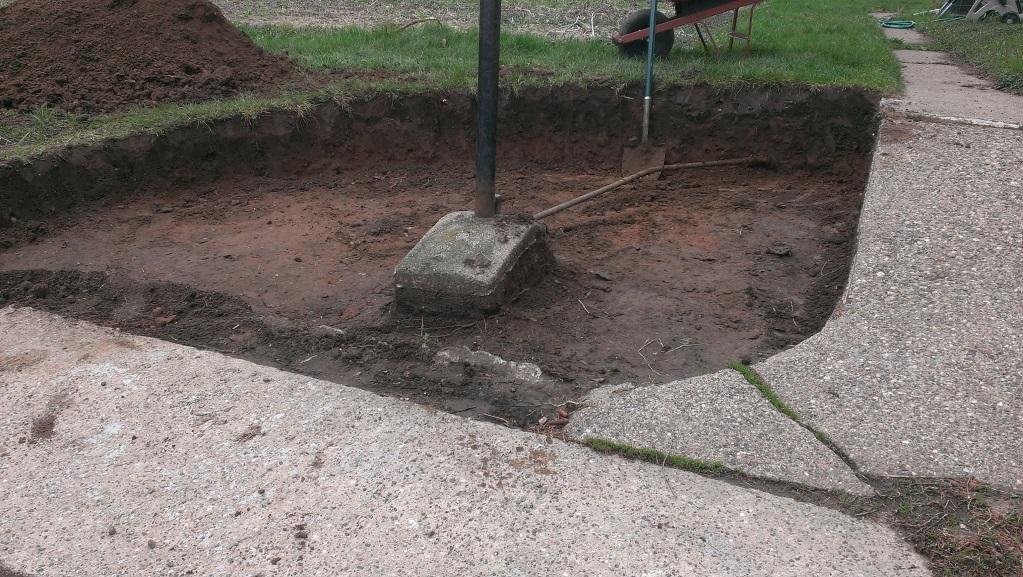
Once the quarter circle was leveled out, the old conduit and wire to the non-functional lamp post was removed.
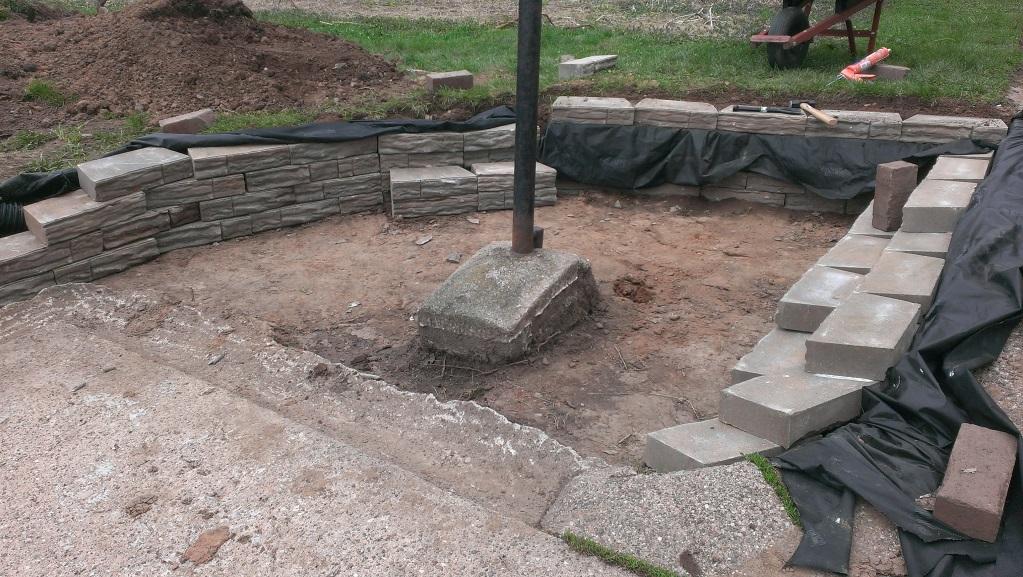
Blocks were laid with weed blocking fabric behind the wall.
Nor did I forget the plastic drain tile.
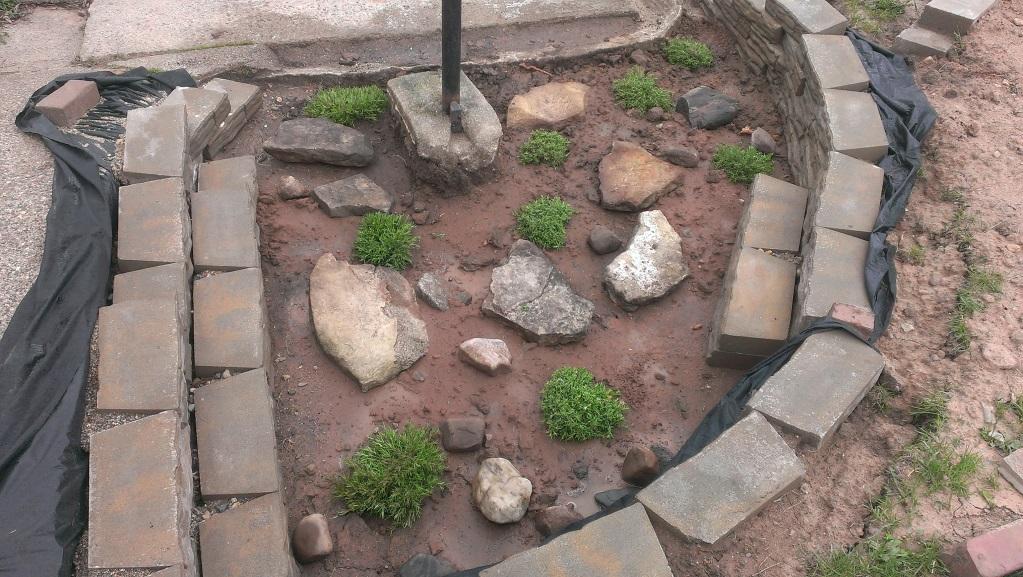
Some more of the old stones were salvaged and phlox was planted for the landscaping elements.
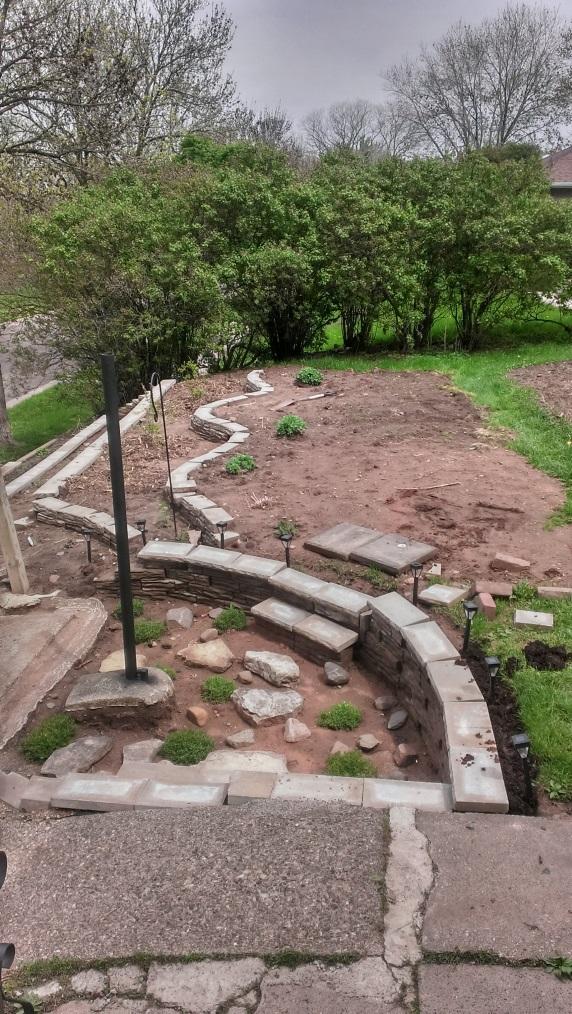
With plenty of blocks available, we were able to tie the quarter circle retaining wall into both the top wall and the middle wall.

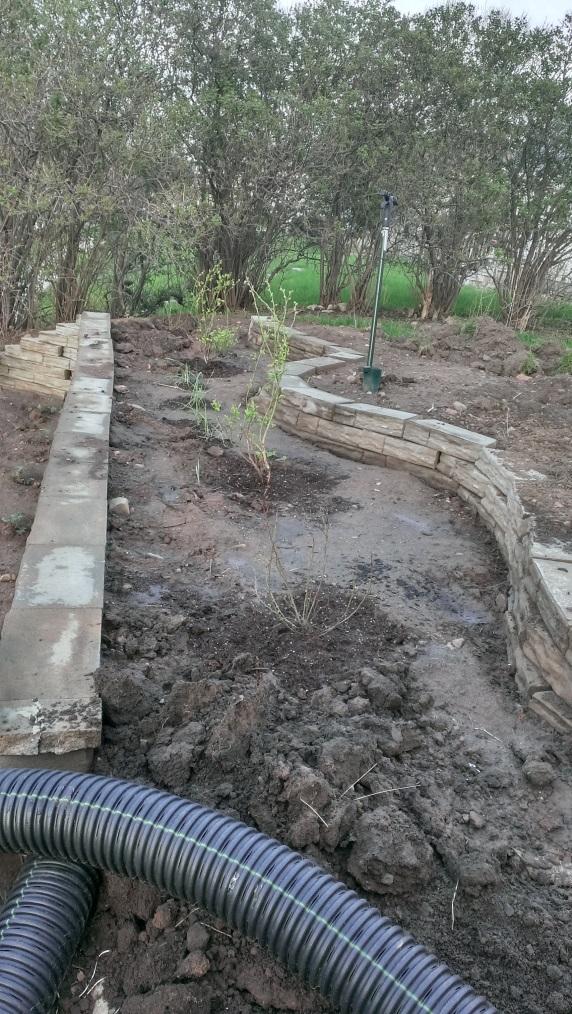
I just love the birch trees up here in Minnesota and had to have one for our yard.
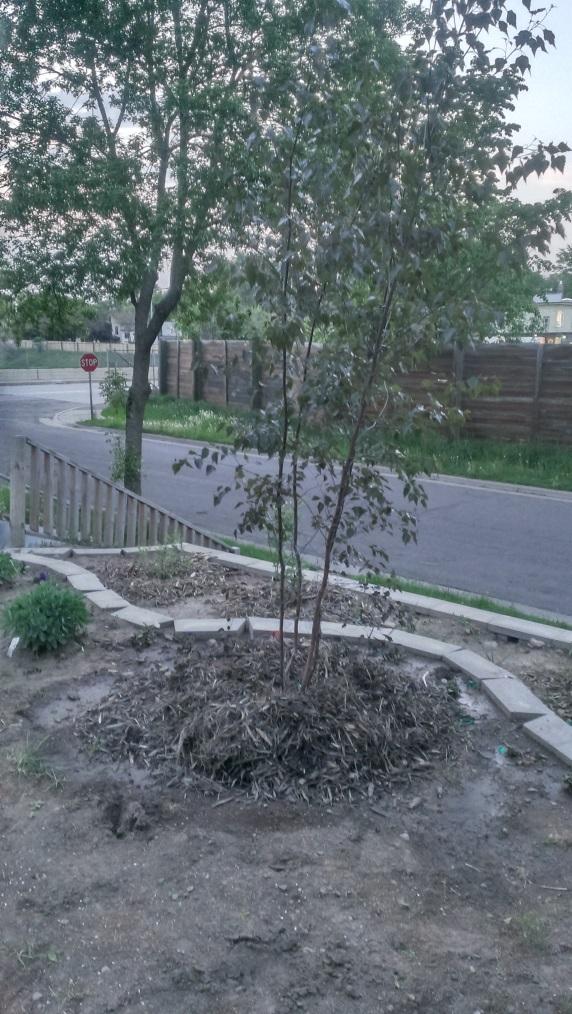
So we ordered a cluster of them to serve as the center piece for the new retaining walls. We re-transplanted some existing plants; added some blueberry bushes; and sowed some wildflowers.
And were substantially complete.
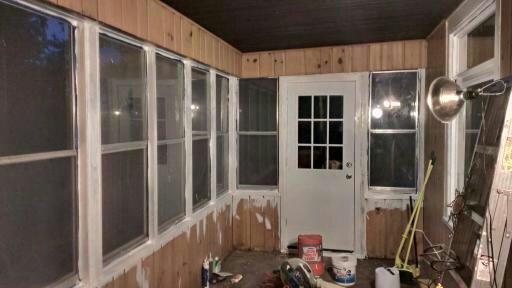
Last completed project for 2014 was the painting of the front door.

From this…
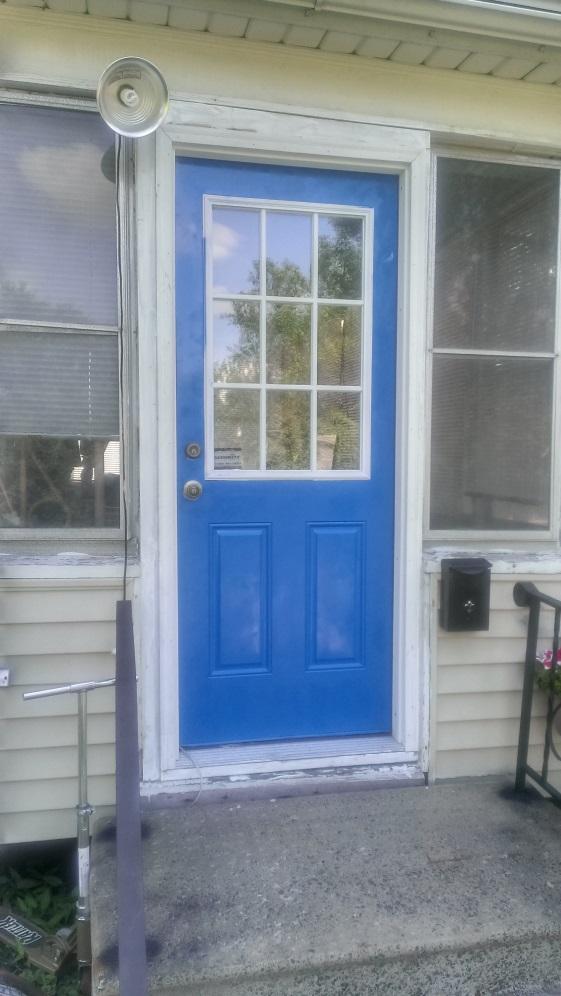
…to this.
The fall also saw us starting the front step repair which I will talk about after the deck.