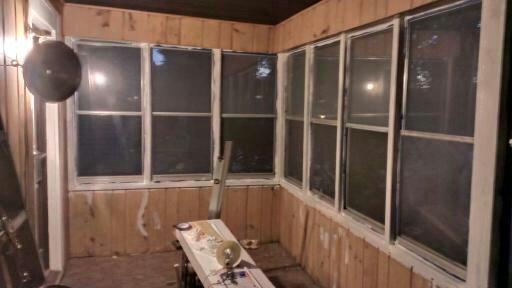
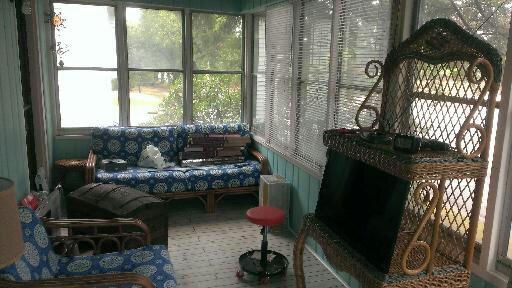
For 2011 and 2012, the front porch had been the staging area for the work going on in the rest of the house. That is where we painted smaller items as well as cut items to size. To say it was rough was a bit of an understatement. So the summer of 2013, it was our major project.
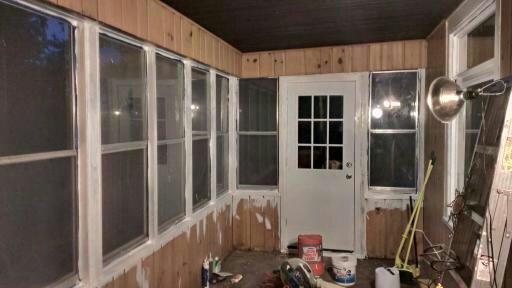
First order of business was to prime the bare wood.
You may be able to tell from the photos the floor was also in very rough shape. It was an old vinyl flooring of indeterminate age. Because vinyl floor at one time was made using asbestos, we made the decision to seal the floor in place which would raise the floor up up inch to an inch and a quarter.
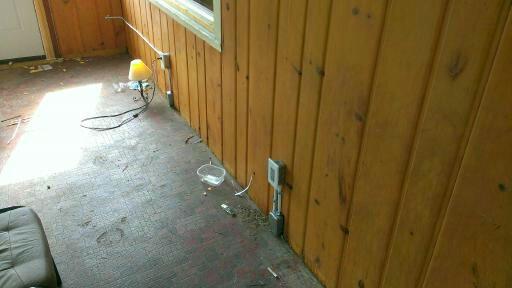
There were already 2 existing outlets on the porch that were floor level which had to be raised up.
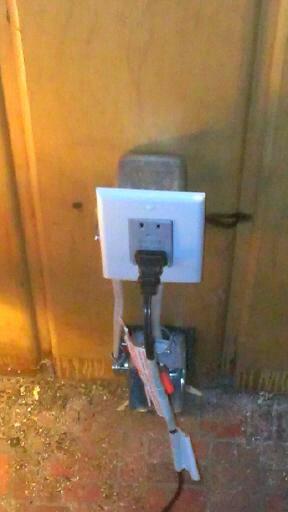
I took the opportunity to replace the first outlet in the circuit with a GFCI outlet.
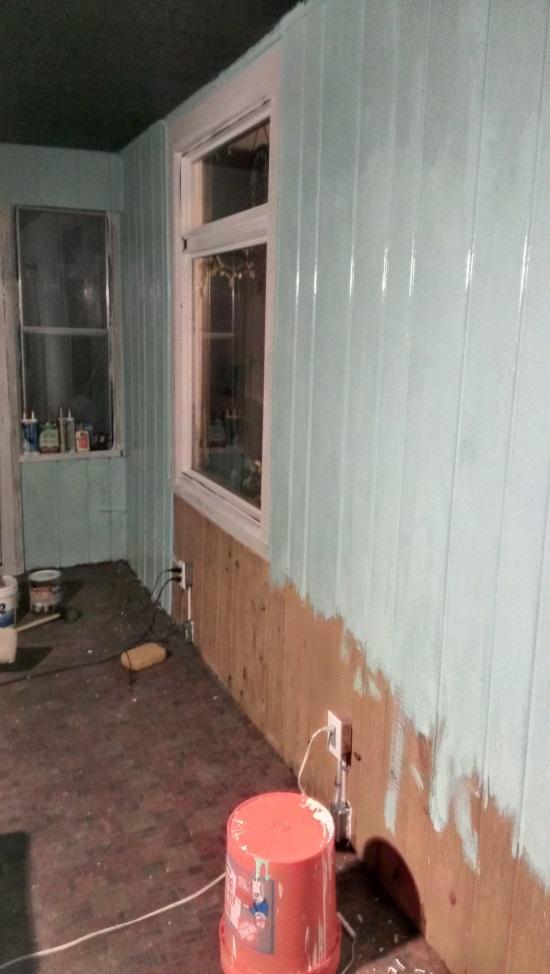
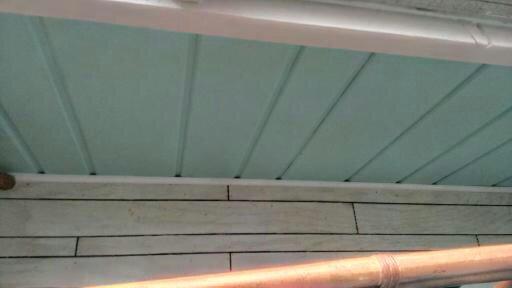
Since this was a 3 season porch, Robyn waited the room to have a beach feel.

Getting that room painted did wonders for how the porch looked, but that floor…
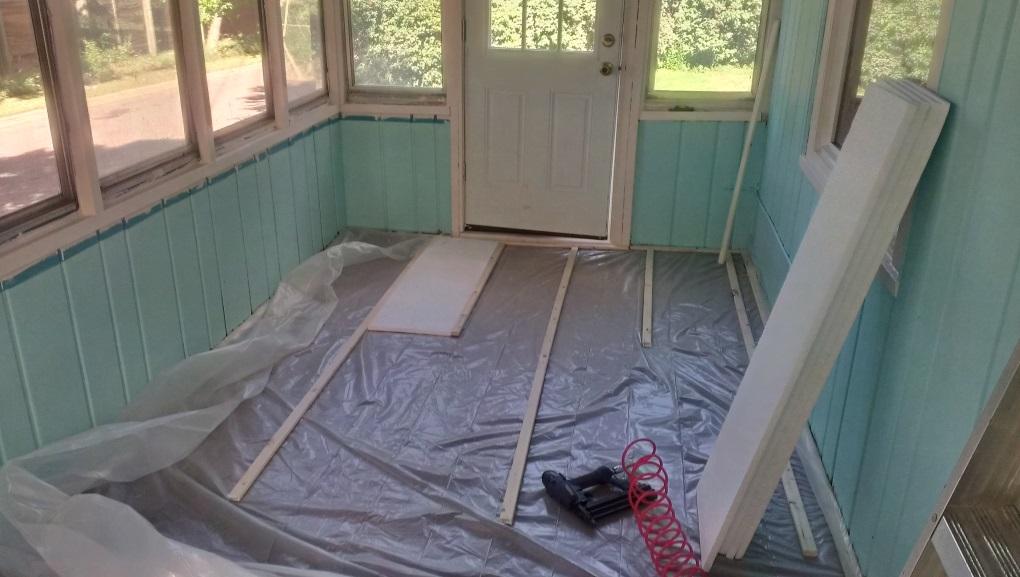
A single sheet of plastic was spread over the floor and then furring strips were put down 16 inches on center.
The 14 ½ inch wide Styrofoam insulation fit right between them. Only pieces for the outer edges had to be trimmed. (and of course, like every other room in the house, the floor was not square.)
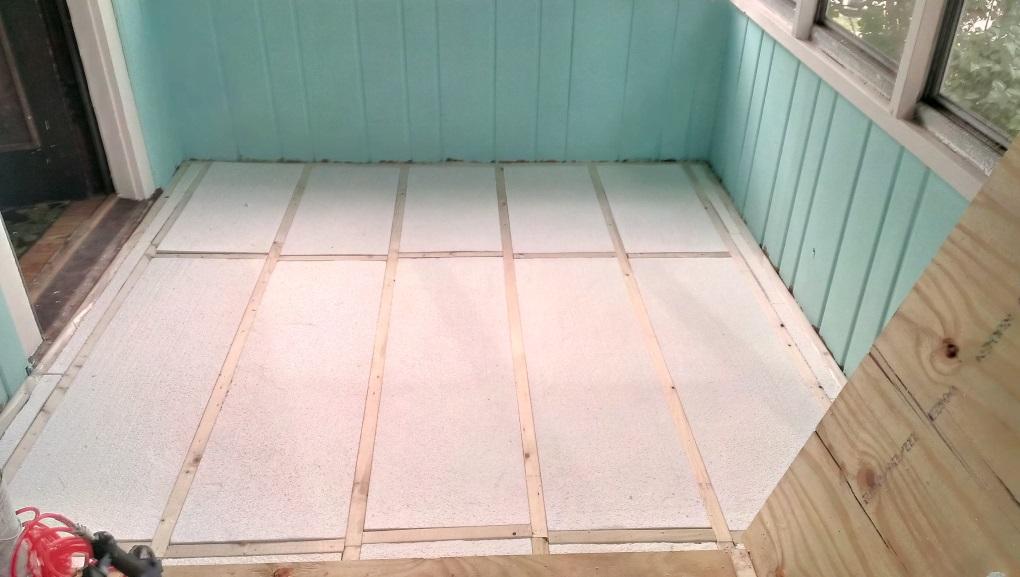
And the insulation was the same thickness as the furring strips so no additional woodworking was needed.
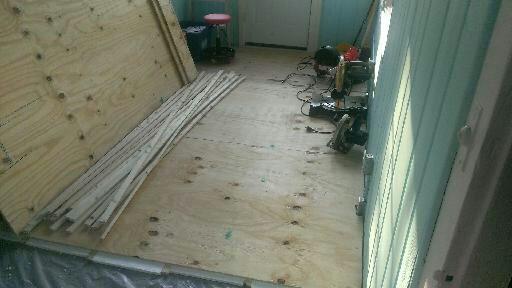
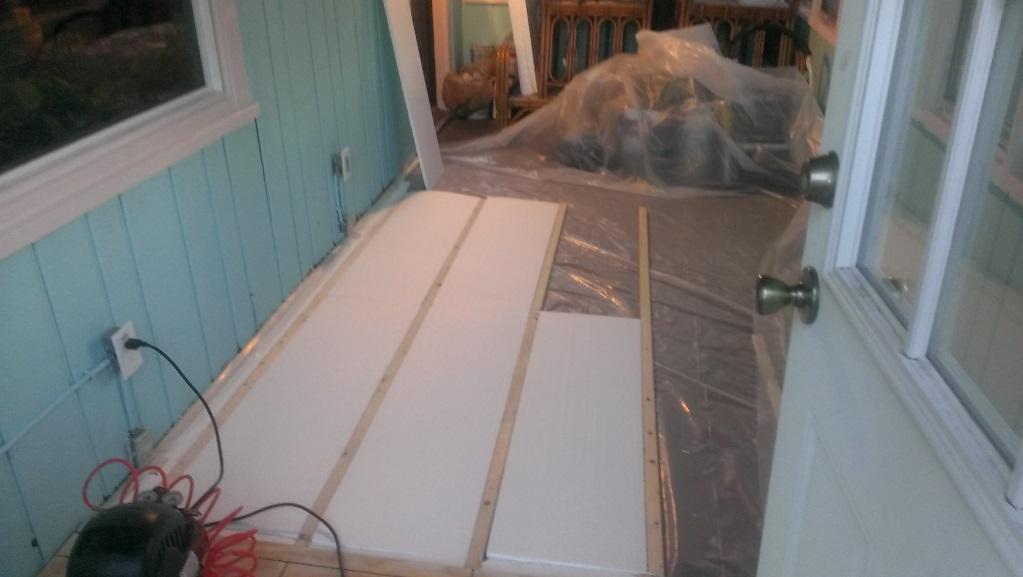
½ inch plyboard was then laid on top of the insulation and furring strips. That brought the floor level up to just below the level of the threshold of the door we added to the porch a couple of years earlier.
Here, things strayed a bit from tradition. I decided to draw lines with a permanent marker on the plyboard, 2 inches, 3 inches and 4 inches apart (in retrospect I wish I had done 3 inches, 4 inches and 5 inches apart since that would have added up to one foot)

We made a whitewash and then covered the plyboard with it.
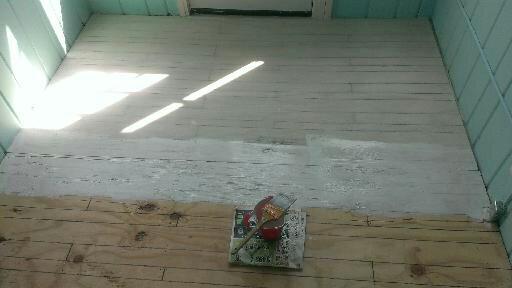
It was a bit tedious, but nowhere as tedious as those 1500 finishing nails Robyn and I used to attach the plyboard to the furring strips.
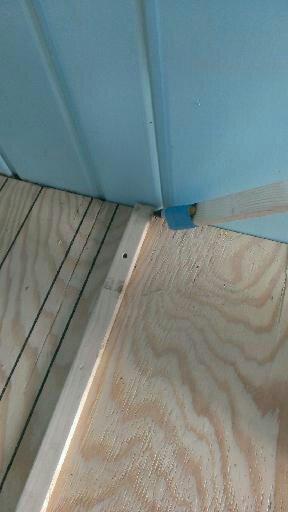
3 coats of polyurethane later, trim was put down around the edges of the plyboard.
Furniture was moved back on the porch.

Wall hangings were put up.
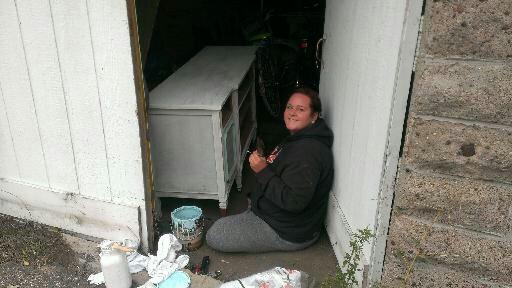
Libby, Robyn’s daughter, whitewashed a buffet we found on the side of the road.

It was the final touch to give Robyn her “beach retreat".

The room was “cat-approved.”
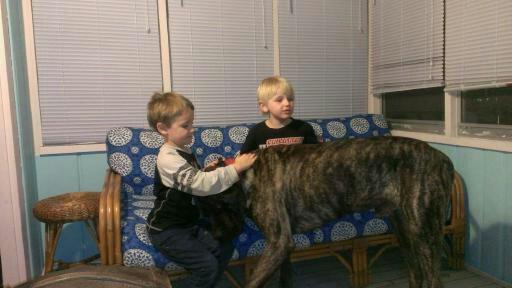
…and a good place for Beef to get a back rub from 2 of the grandkids.
No comments:
Post a Comment