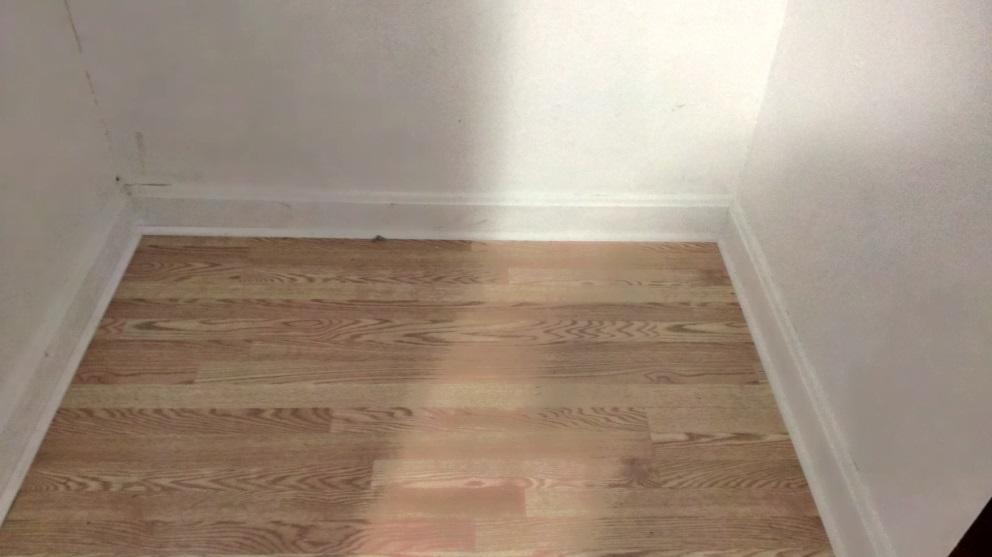
The underlayment went down.

Followed quickly by the laminate.

After installing over 900 square feet of laminate, the work was quickly completed. (Wish I could go back and re-do some of it though.)
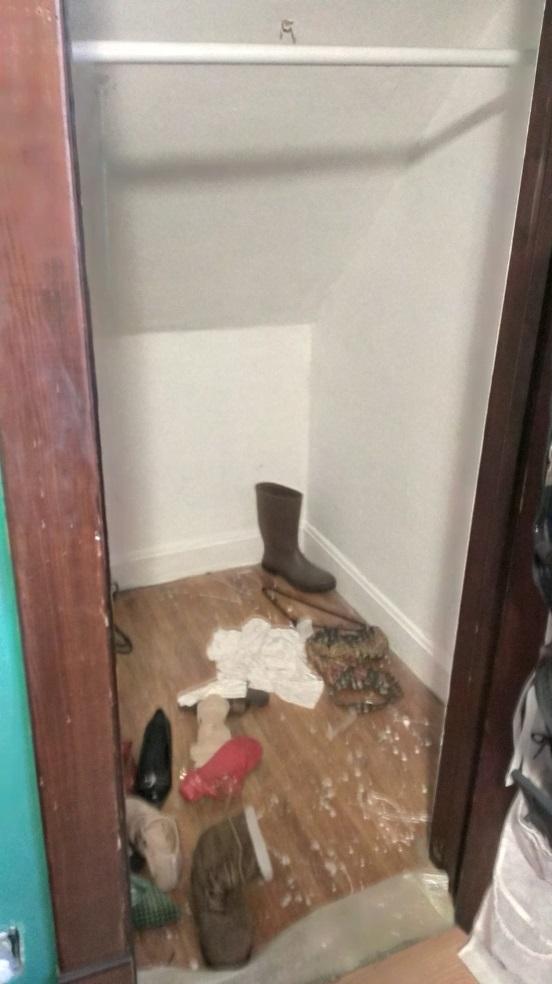
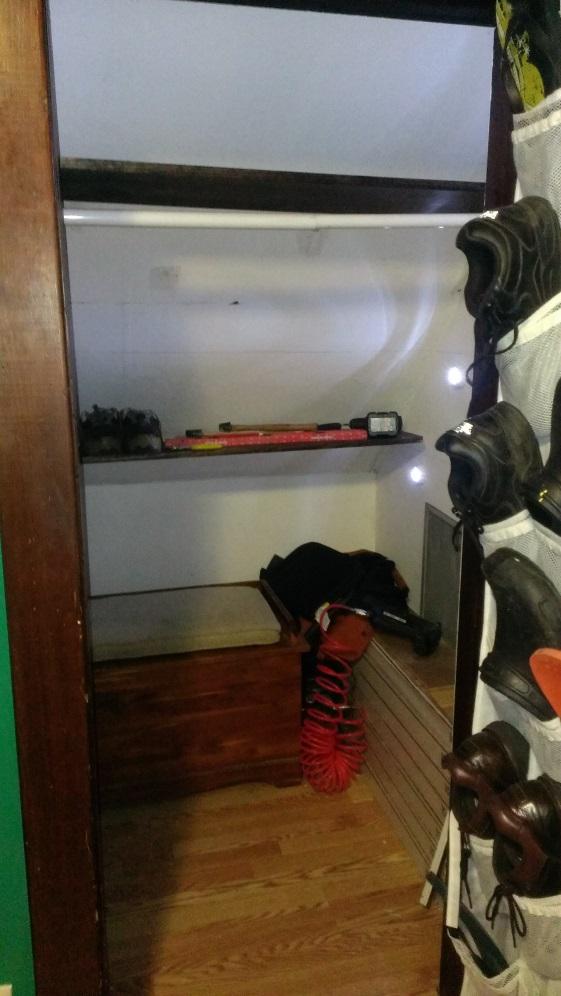
Storage is always at a premium in an older home.
So, an IKEA storage unit was put on one side of the closet.
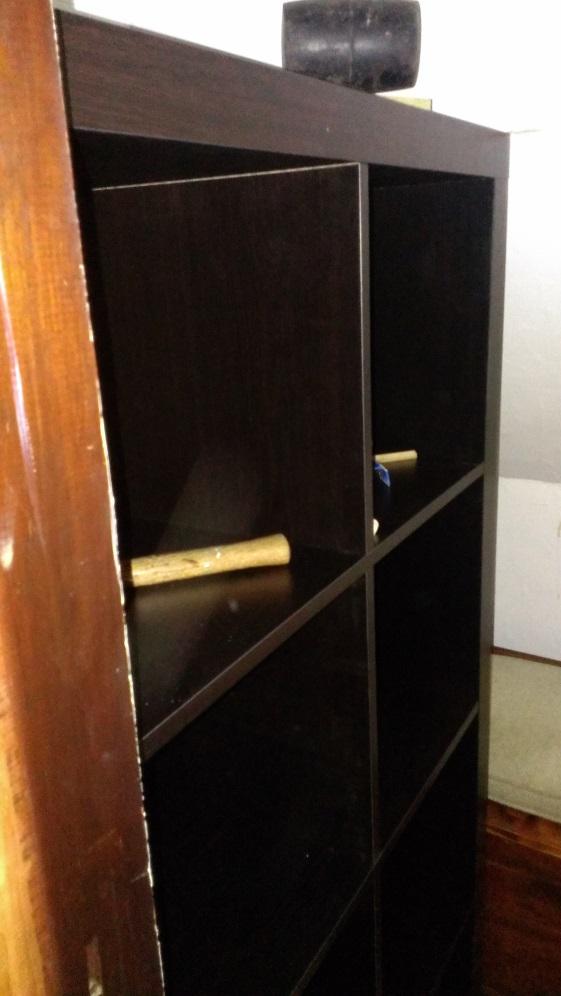
t took a bit of persuading with a rubber mallet and a block of wood to get it all the way back against the sidewall of the closet.
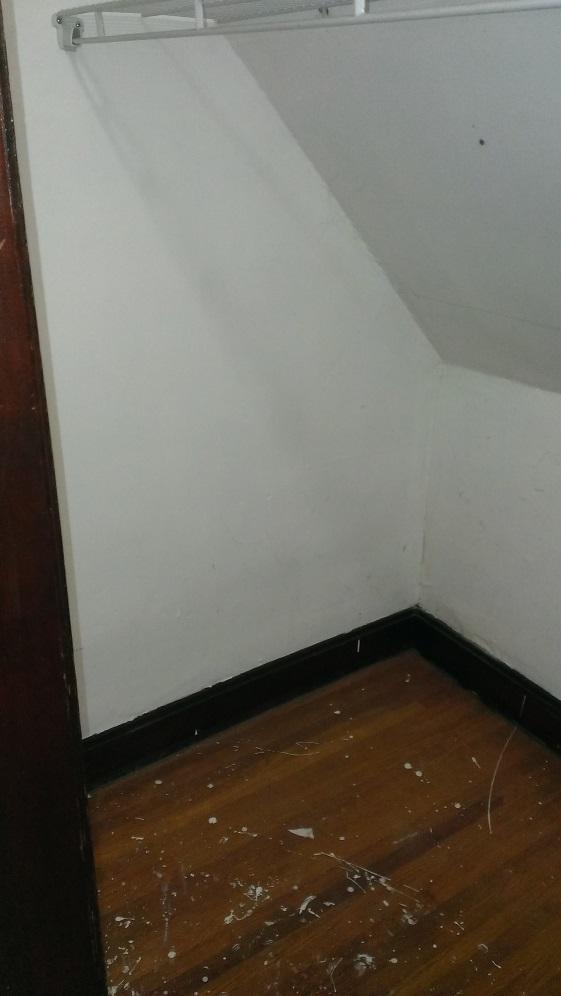
Part of the challenge with both this closet and the one Robyn used was the sloped ceiling. I found these adjustable brackets at Ikea
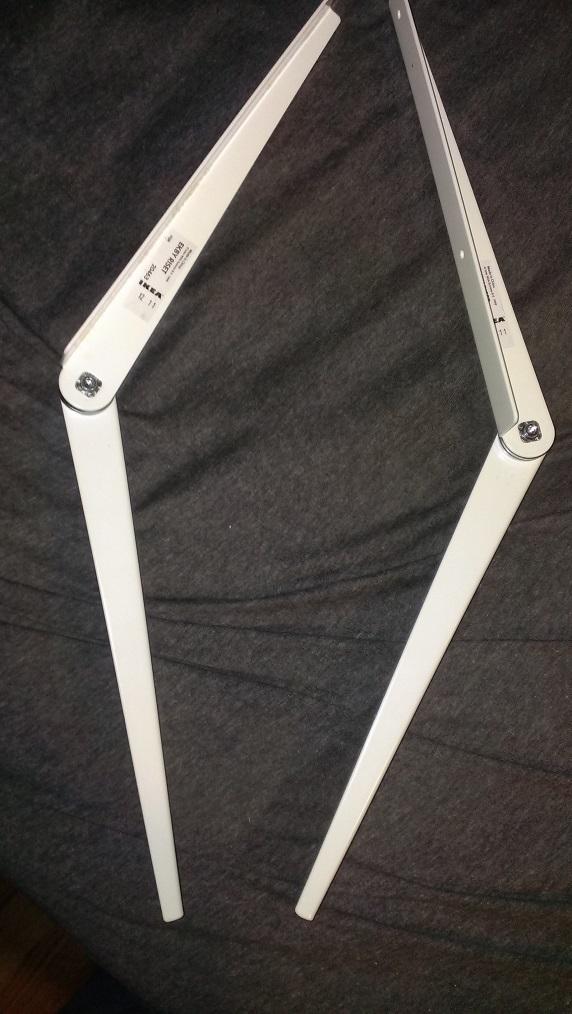
And was able to adjust them so I could add a couple of shelves to the closet. They weren’t ideal because of the lip they had but were better than any other product I could find.
...and dang, still didn't get that hanging rod level.
A couple of storage baskets from Ikea for the storage unit and the closet was done. We even had room to slide the cedar chest in there along with leftover laminate.

Robyn’s closet was a bit more difficult. Her closet had two different slopes to the ceiling. I had already made one abortive attempt to put up a closet kit. It just did not work.
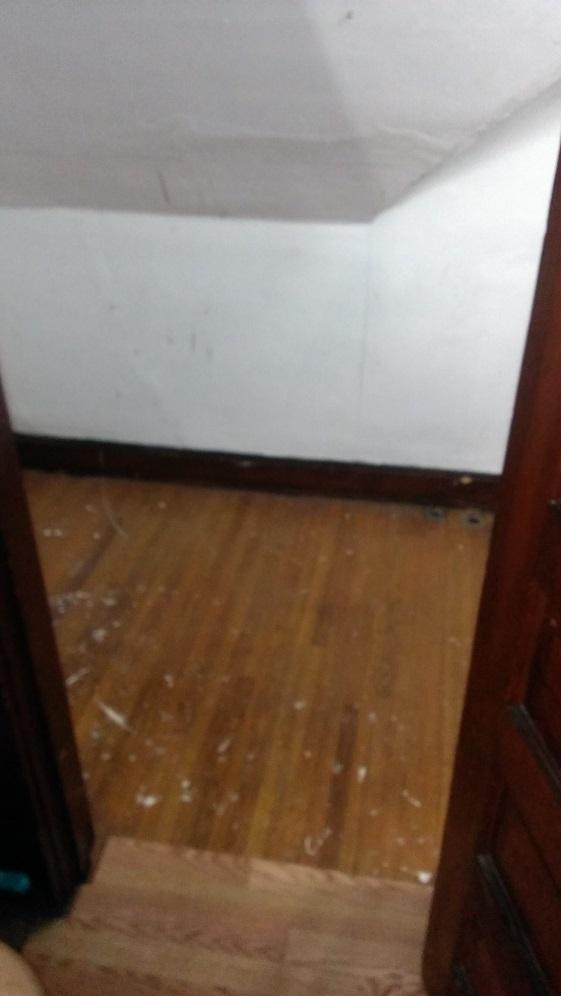
Once the laminate was down.
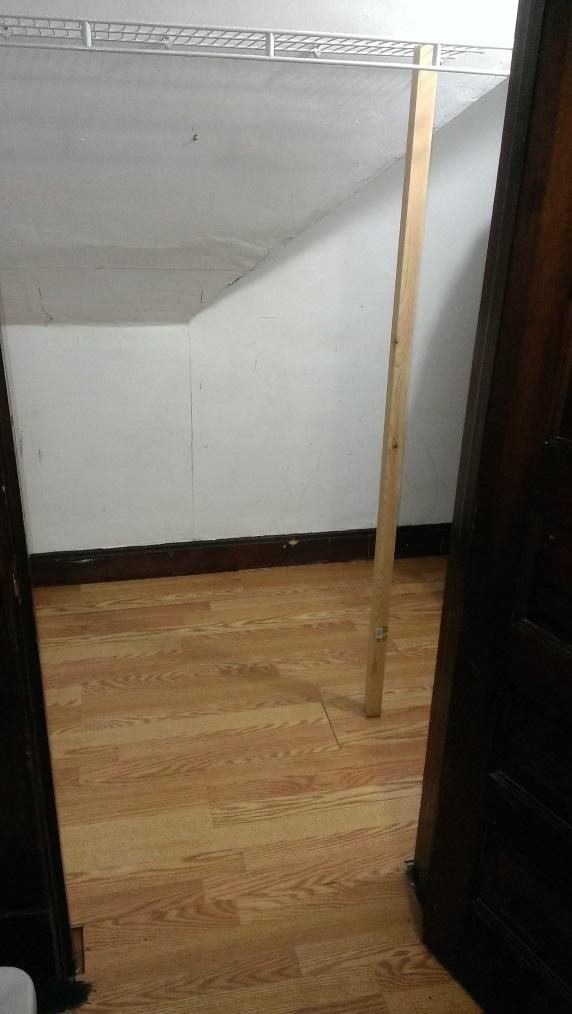
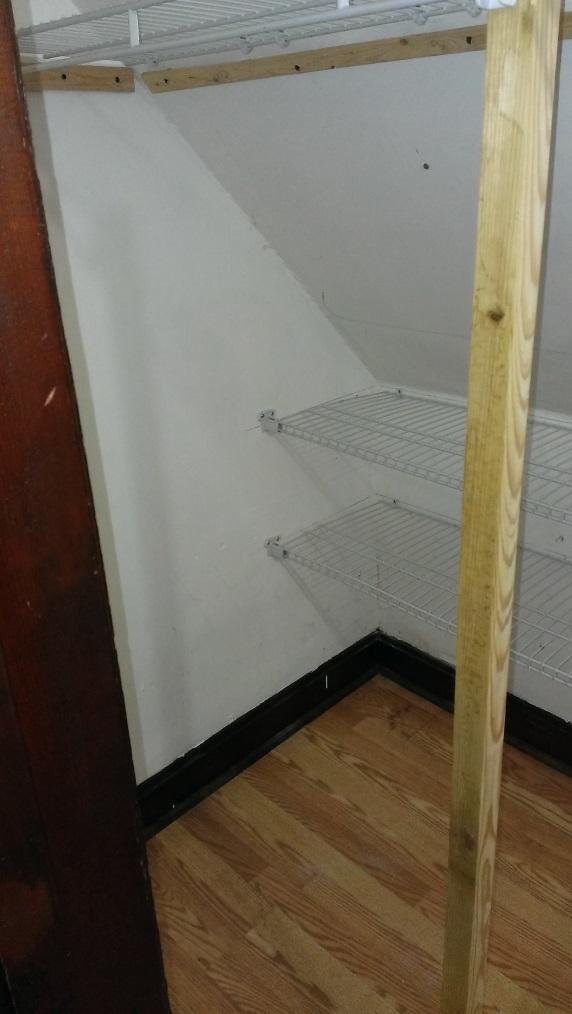
I used a 2x2 to hold up the end of the wire shelving rather than rely on the factory solution which had already shown itself to not work.
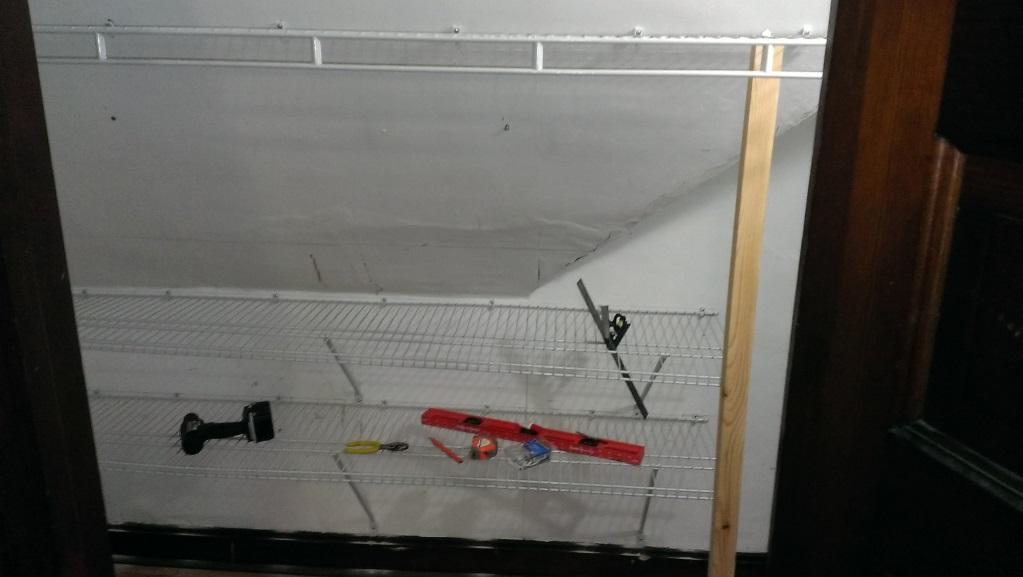
I used the brackets from the closet kit to install a couple of more shelves along the straight part of the back wall of the closet.
To ensure there was enough support for the clothes that were going to be hung from this shelf. I put a couple of cleats underneath it along the 2 walls it abutted.
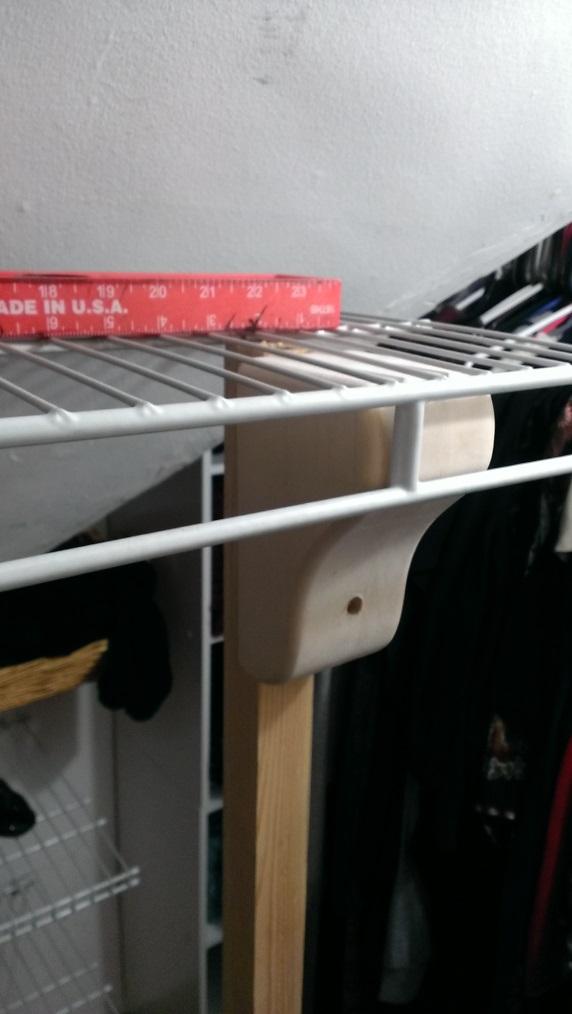
And added a small wooden pine shelf bracket to the 2x2 to make sure the end was adequately supported.
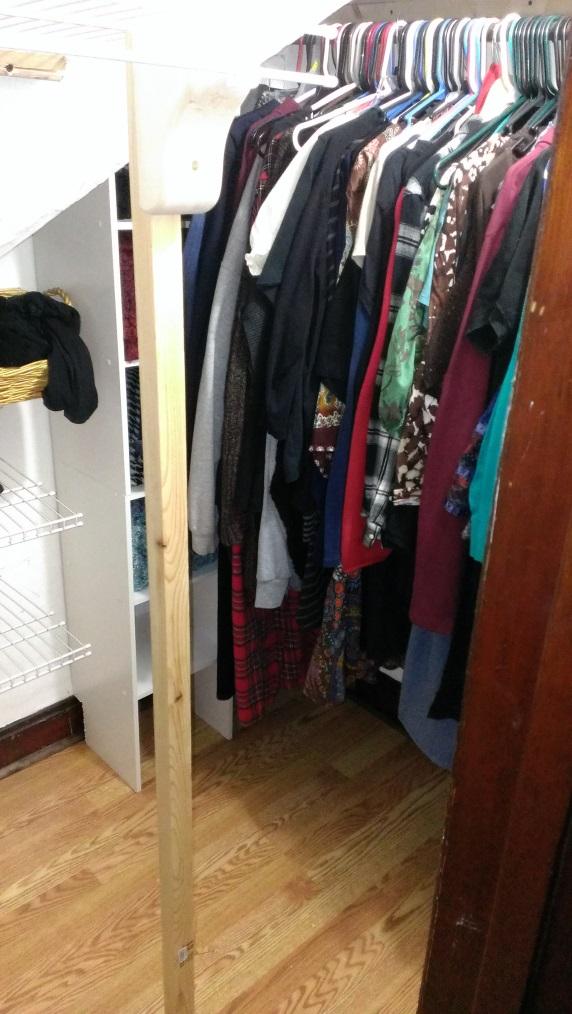
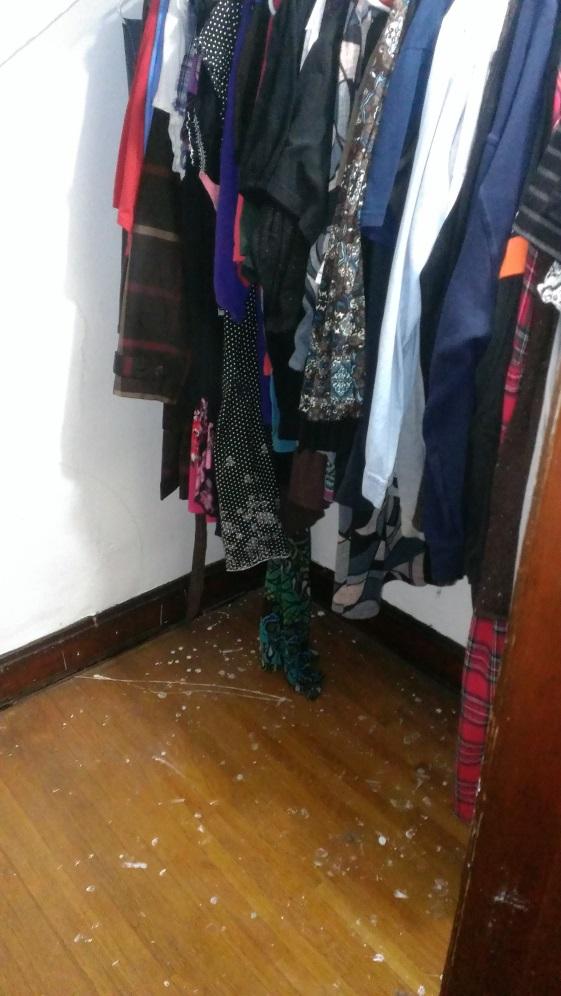
With the addition of a small shelving unit for her shoes, Robyn was able to start hanging her clothes back up.
Also in the spring of 2013, before we got Beef, I started building some steps for the little dogs so they could get into the bed with us.
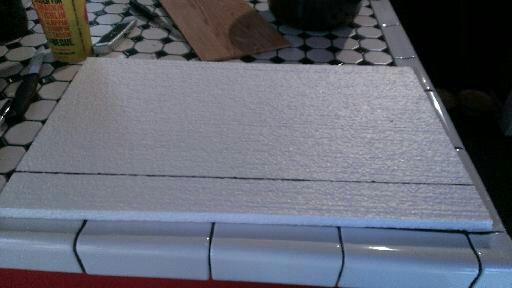
I started with some ¾ inch Styrofoam insulation
Cut it to size using a very sharp knife

The layers with glued together using a Styrofoam adhesive
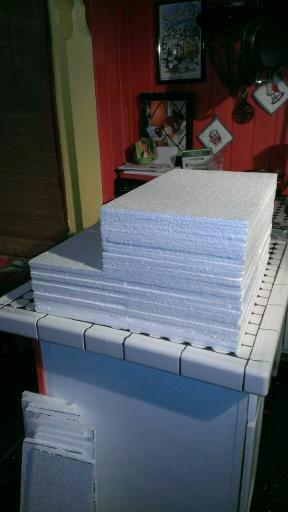
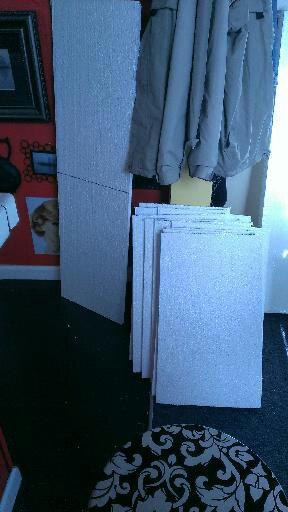
Each step was cut from a different size of Styrofoam
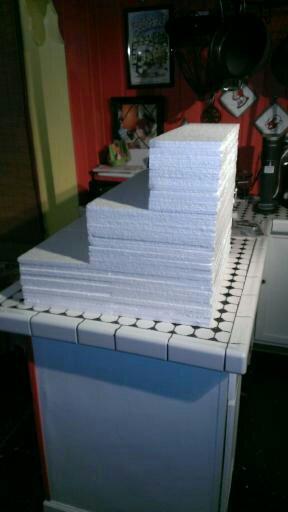
Once I had something resembling steps…
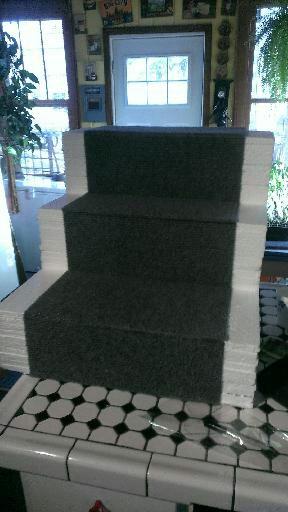
I used pieces of carpet squares to cover the steps
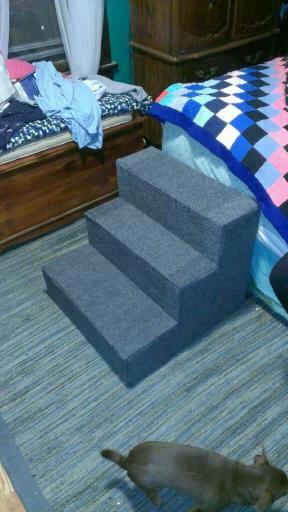
So far, we’ve gotten nearly 3 years of usage but they are showing the wear of that now 190 lb mastiff who also likes to use them.
No comments:
Post a Comment