Monday, February 22, 2016

Punch List...

So our house is going to be on the 2016 Minneapolis Home Tour which is on April 30 and May 1.

Robyn agreed to do it provided I committed to finishing up all of the little items that have piled up undone.  So I put together a "punch list" of the items remaining.  It's a bit longer than I expected.

  1. Stain and Install Floor molding - downstairs - done
  2. Stain and Install floor molding - upstairs - molding purchased
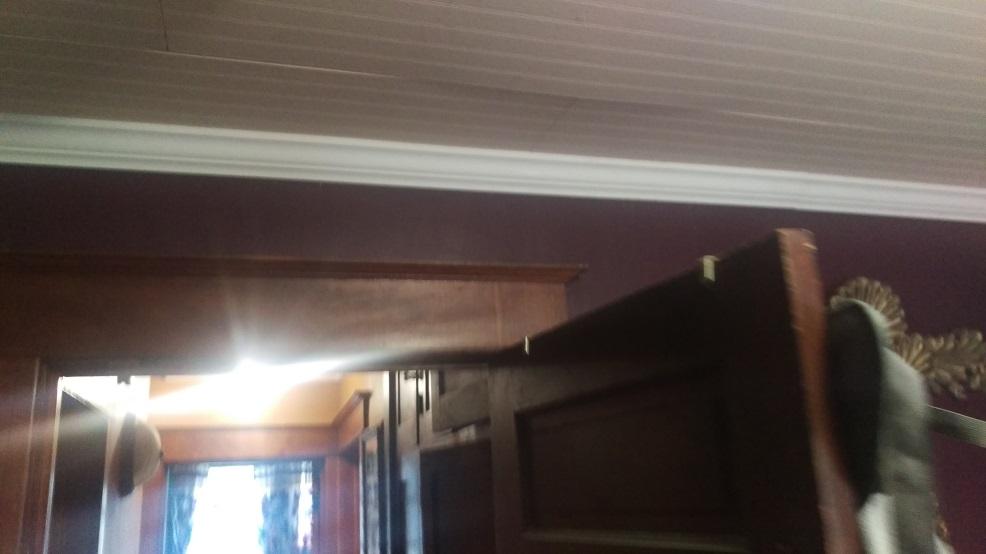
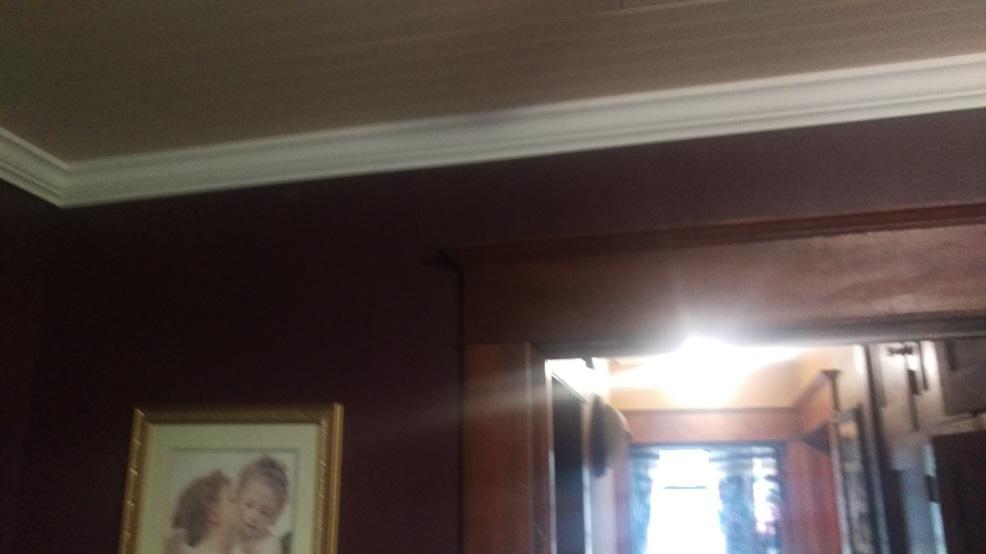
  3. Replace Trim at top of stairs - molding purchased
  4. Trim under cabinets
  5. Stain and install front door threshold - in progress
  6. Resize vent in our bedroom
  7. Replace foyer light - purchased
  8. Replace middle bedroom light - purchased
  9. Remove masking tape on light at top of stairs
  10. Repair light at the stair landing
  11. Replace kitchen cabinet door knobs
  12. Make extension for master bedroom headboard - in progress
  13. Trim and re-install closet molding
  14. Repair living room wall from AC leak
  15. Repair chair in dining room - in progress
  16. Install casing around porch door - done
  17. Paint casing around porch door - done
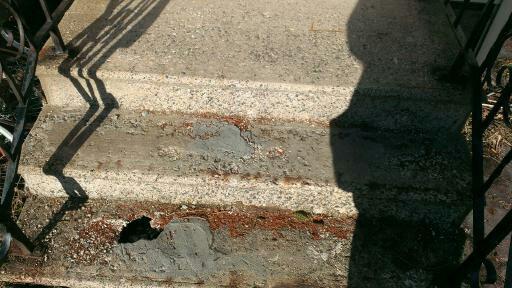
  18. Re-seal deck
  19. Repair kitchen tile
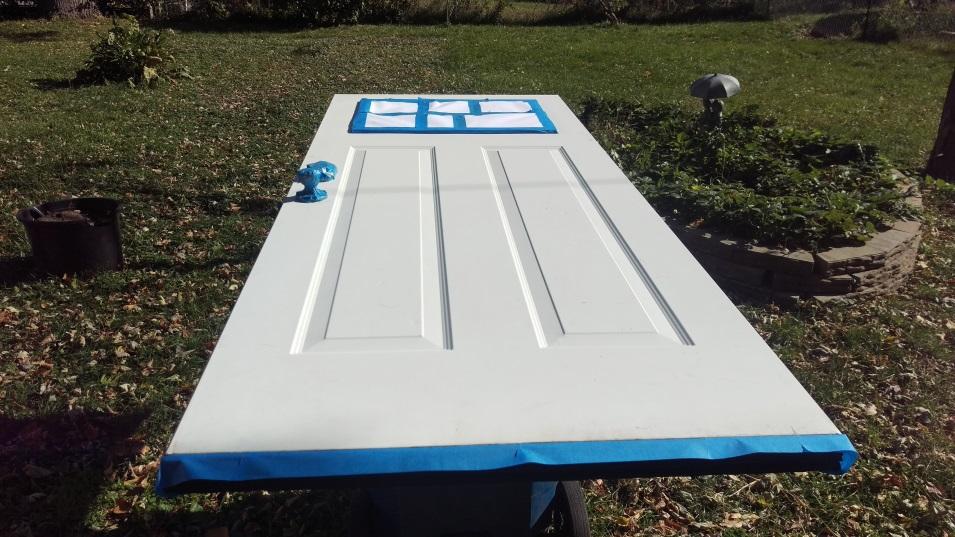
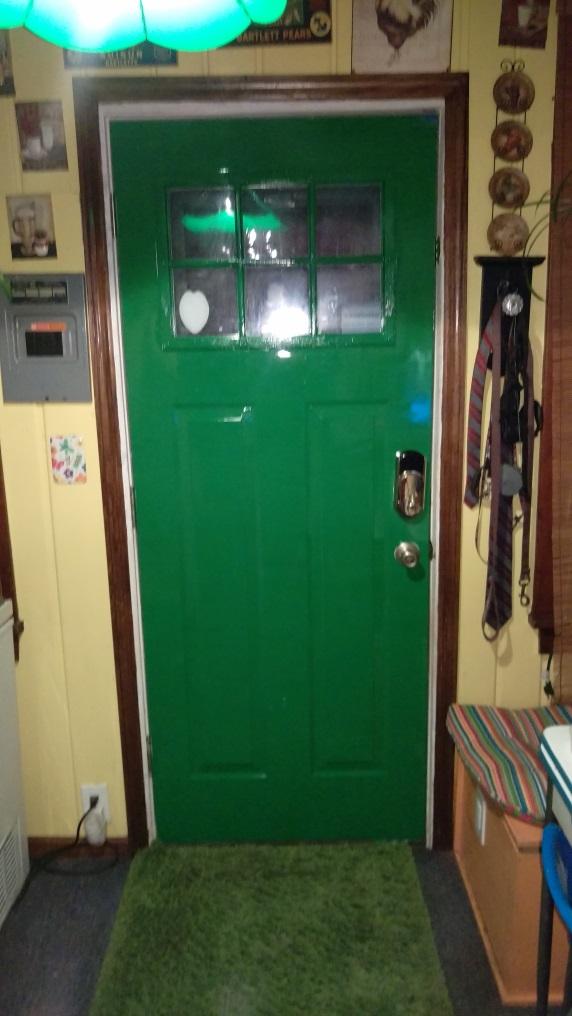
  20. Install stained glass in front door window
  21. Fix laminate around bottom stair rail
  22. Touch up kitchen sink enamel - done
  23. Touch up paint on porch
  24. Replace pneumatic closer on storm door - done
  25. Remove paint drips from molding
  26. Remove paint drips from front door, both sides
  27. Refresh stain on front door, both sides
  28. Refresh varnish on molding
  29. Varnish front door, both sides
  30. Install catch on armoire doors
  31. Stain and install door stop for door between foyer and kitchen - in progress

The most time consuming items are those that require staining.  It usually takes at least two days to get the required number of coats.

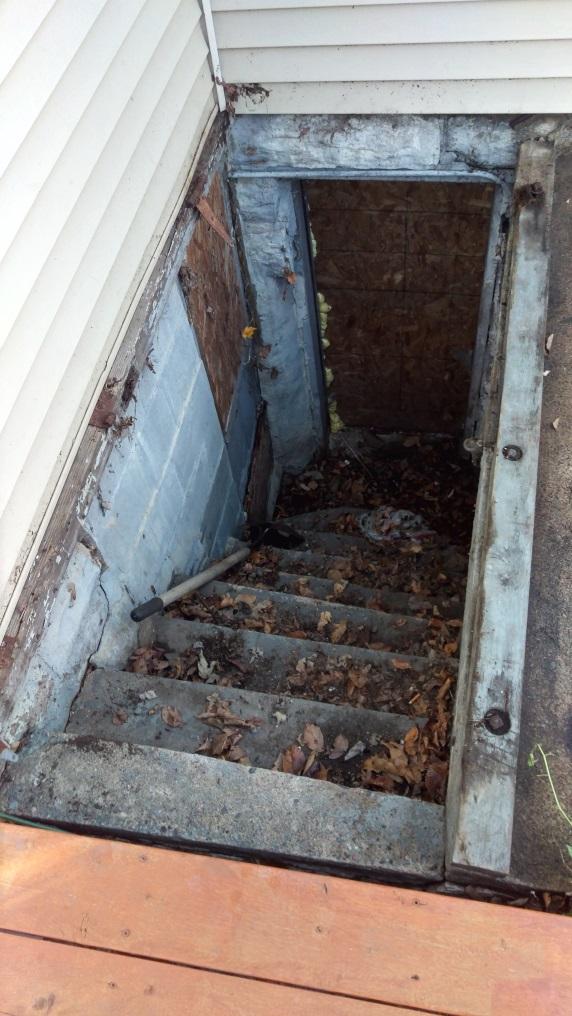
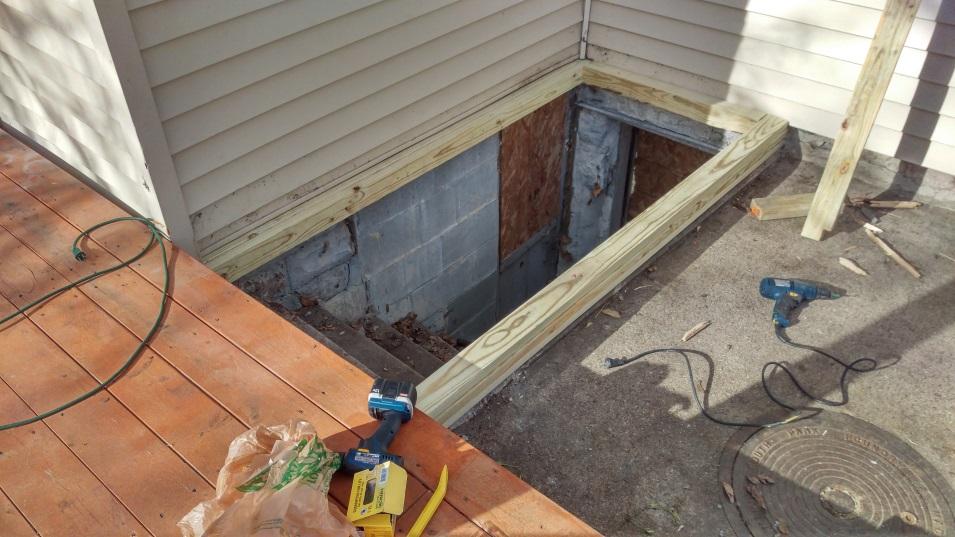
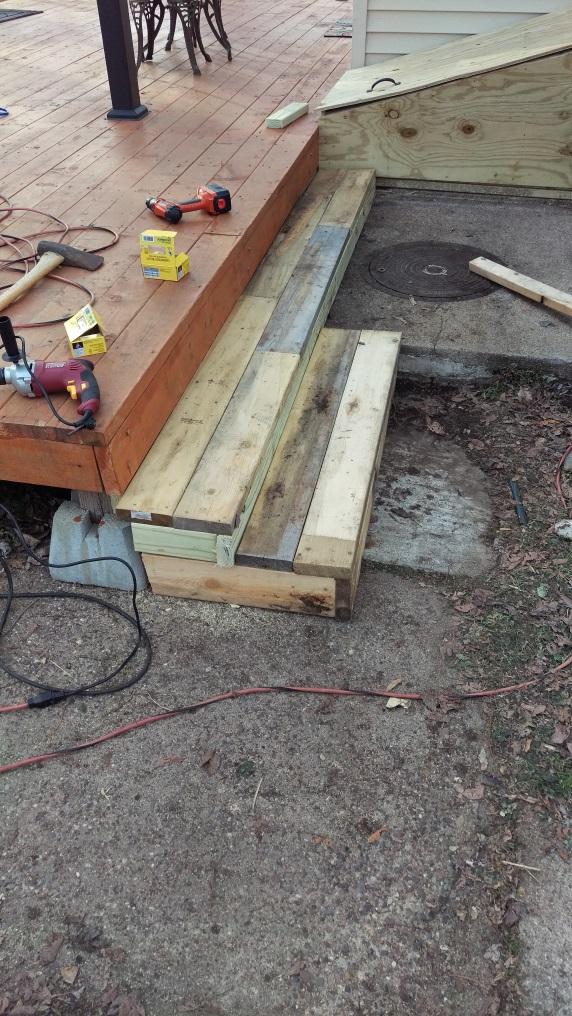
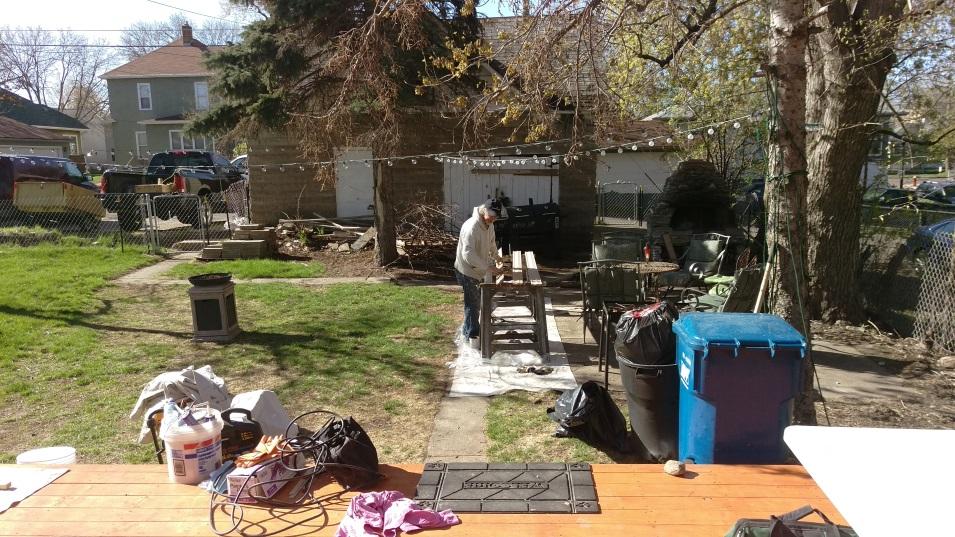
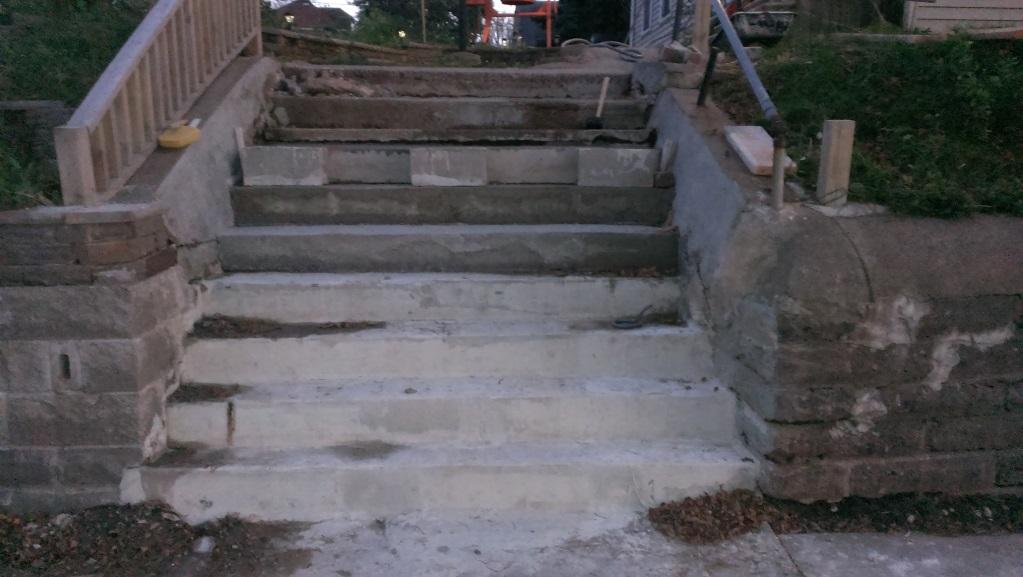
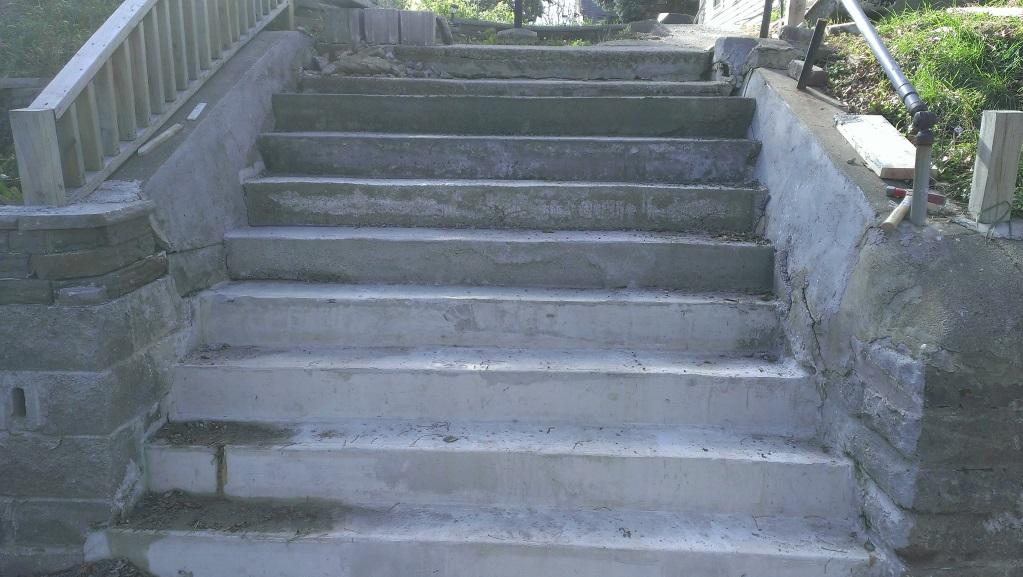
Several of the items are in flight but the highest priority is being placed on getting the floor quarter round installed.  The molding is coming in 11 foot and 12 foot lengths which makes it difficult to take down the inside stairs and the outside stairs have a piece of OSB covering the exterior basement introduced.

What to do???

Well, use the 1 1/2 inch hole saw...


...to cut a hole to pass the molding through to Robyn.


There was quite a breeze blowing through the insulation so we stuffed a piece of leftover pipe insulation in the hole.


I was able stain about 7 pieces of quarter round at a time.


And was pleasantly surprised by how close of a match we were able to get.


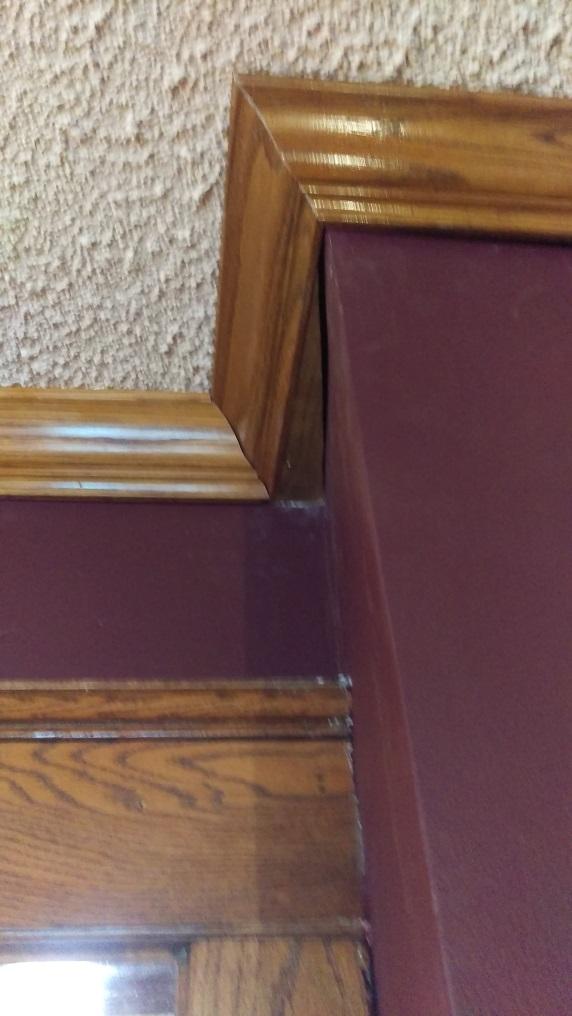
Each of the door openings were a bit of a challenge to work around, but once I figured out how it looks the best, it went quickly.


Next to the sawz-all, this little one gallon compressor with the 18 gauge brad nailer was about the most useful tool we purchased for working on the house.


Another of those leftover items to do, was to put casing around the inside of the front porch door.  You can see the slope the porch has (and the spray foam I put around the door.)


1x4 oak planking was just about the perfect size.  I thought about using pine but wanted something a bit more durable.


I did have an "oops!" when I misread the tape measure as 6'9" when it was only 6'7".  Had to cut a two inch piece to go on the bottom.  Fortunately this was going to be painted and not stained.


Added some wood putty to the joints and then primed the bare wood.


And with the coat of semi-gloss Banana Cream, I was ready to put those blinds up I bought a couple of years ago.

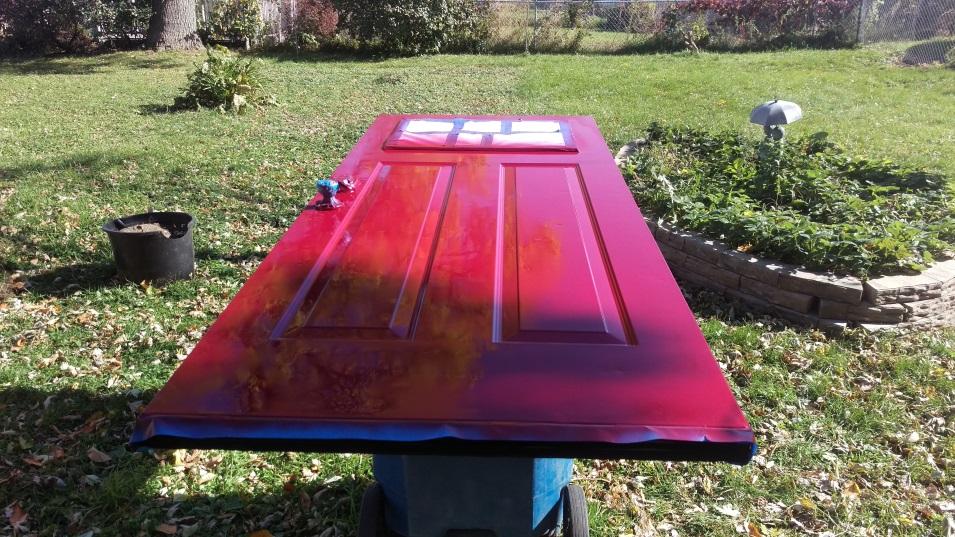
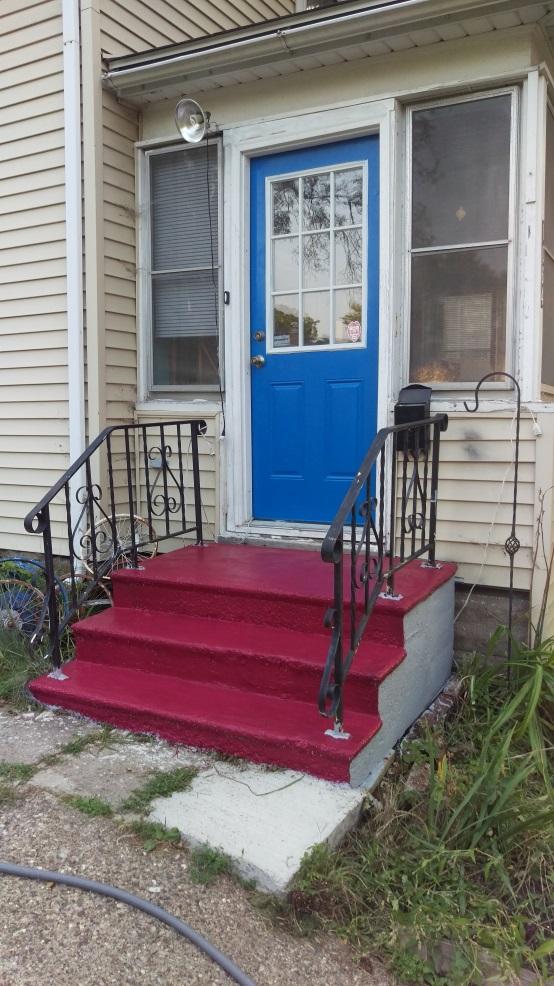
One of the things we've be wanting to do to dress up the outside of the house since it was a beige vinyl siding was to change the trim color from white to another.  We decided that we liked the color that we spray painted the back door so we tried to match it.


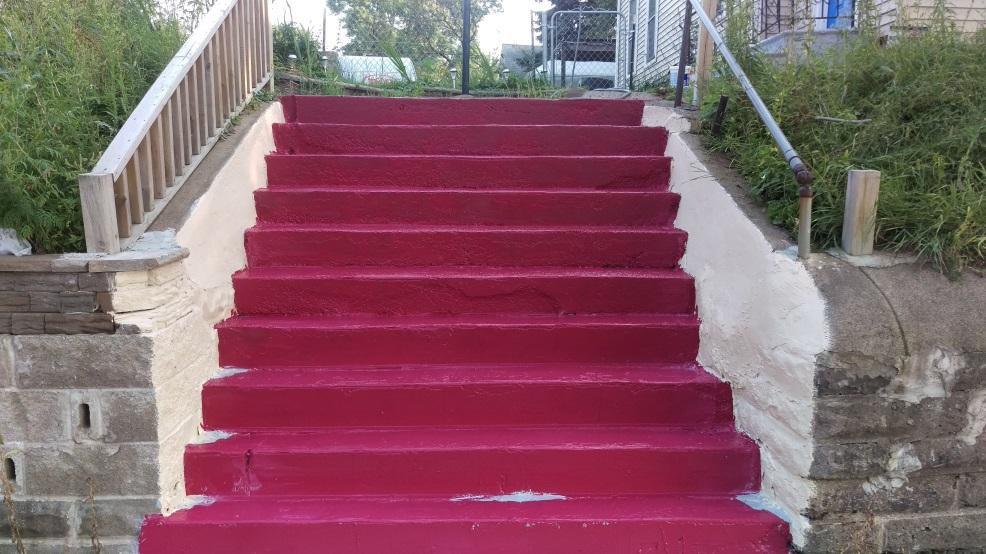
I learned my lesson from the front steps which came out redder than we wanted so I bought a sample to try on the back door trim.  It didn't match the back door and came out a brighter red than we wanted.  I actually like the color but I think by the time all of the trim, particularly the front porch trim, was painted the color would be overwhelming.  So, back to the paint store.


While those projects were going on, down in the basement, I was staining the pieces for 4 more "punch list" items: the front door threshold, the door stop for the door between the foyer and the kitchen, the reinforcing block for the chair that has a split bottom and the headboard extension (the light piece in the picture).  Robyn had found a mid-century modern bedroom set a couple of years ago.  However, our bed is a California king and this headboard which is a standard king is six inches wider.  I'm adding a piece of 1x6 hardwood stained maple to serve as an extension.


As soon as I finish staining those pieces and cutting them to fit, I can get started staining these pieces of trim for upstairs.


Thursday, February 11, 2016

...and the list goes on.

We will probably always have small projects to work on.  Once the crawfish boil was over and the crown moulding was installed.  I started work on a pergola for the deck.
C:\Users\kiddqu\Dropbox\Personal\house\Deck and Doors\2015-05-02 09.42.46.jpg
It was a kit from Home Depot
C:\Users\kiddqu\Dropbox\Personal\house\Deck and Doors\2015-05-02 16.13.44.jpg
It went up easily in under a day.
C:\Users\kiddqu\Dropbox\Personal\house\Deck and Doors\2015-05-02 16.15.08.jpg
…and it came with shade. (The small trailer in the background let's Robyn and I get out and explore the sights up here.)
I also put a screen door on the back of the house which I forgot to take a picture of.  But that enabled me to take down the back door and paint it.
C:\Users\kiddqu\Dropbox\Personal\house\Deck and Doors\2015-10-17 12.11.59.jpg
This is the outside.
C:\Users\kiddqu\Dropbox\Personal\house\Deck and Doors\2015-10-17 12.23.48.jpg
The color is the approximate color of what we thought the steps were going to be .  In 2016, we hope to start painting the trim on the house about this color.
C:\Users\kiddqu\Dropbox\Personal\house\Deck and Doors\2015-10-18 19.03.07.jpg
The inside of the door was painted “John Deere Green” to match the bright colors of the breakfast nook.
C:\Users\kiddqu\Dropbox\Personal\house\Deck and Doors\2015-10-17 17.43.47.jpg
The green storm door match the maroon door about perfectly.
The last project for 2015 was to build a new cover for the steps going down to the outside basement entrance which is currently blocked off with a piece of OSB board.
C:\Users\kiddqu\Dropbox\Personal\house\Deck and Doors\2015-11-13 16.03.21.jpg
The old sills were starting to rot. Who knows how old the old cover was…
C:\Users\kiddqu\Dropbox\Personal\house\Deck and Doors\2015-11-13 16.04.15.jpg
…but it was well beyond its useful life.
C:\Users\kiddqu\Dropbox\Personal\house\Deck and Doors\2013-12-18 20.37.48-2.jpg
A couple of years ago, I had sketched up what I wanted to do and attached the paper to the kitchen refrigerator.  But I needed a new tool…
C:\Users\kiddqu\Dropbox\Personal\house\Deck and Doors\2015-11-14 11.57.05.jpg
…a powder actuated nailer. (Mmmmm… more power)
C:\Users\kiddqu\Dropbox\Personal\house\Deck and Doors\2015-11-14 13.06.24.jpg
Using treated wood, I used the nailer to build a new sill for the cover attaching it to the old coal cellar and foundation.
C:\Users\kiddqu\Dropbox\Personal\house\Deck and Doors\2015-11-14 16.57.16.jpg
Framed up the sides.
C:\Users\kiddqu\Dropbox\Personal\house\Deck and Doors\2015-11-15 11.48.37.jpg
Covered the insides with plyboard and attached the frame to the sills.
C:\Users\kiddqu\Dropbox\Personal\house\Deck and Doors\2015-11-15 15.35.32.jpg
And started covering the frame with treated plyboard
C:\Users\kiddqu\Dropbox\Personal\house\Deck and Doors\2015-11-15 16.57.18.jpg
Added the hinges…
C:\Users\kiddqu\Dropbox\Personal\house\Deck and Doors\2015-11-15 18.09.10.jpg
…and a handle to lift the door.
C:\Users\kiddqu\Dropbox\Personal\house\Deck and Doors\2015-11-15 18.10.19.jpg

Which actually lifts fairly easily.  In 2016, I hope to build a secure entrance door to the basement from the outside.
C:\Users\kiddqu\Dropbox\Personal\house\Deck and Doors\2015-11-22 14.48.16.jpg
Last project of 2015 were these steps which were built out of scraps and leftovers.  It chewed up my third drill since we started on the house and I had to get a new one.  The steps will be sealed with Thompson’s Water Sealant in the Spring.  The basement entrance will be painted to match the house trim.

Things are looking up...

II hate to admit that I am incapable of doing something. But after my experience putting up the crown moulding in the kitchen, I can to the conclusion that putting up crown moulding in the rest of the house was beyond my skill level and the capabilities of the tools that I owned.
C:\Users\kiddqu\Dropbox\Personal\house\Crown Moulding\2015-04-27 09.28.05.jpg
One of the craftsmen who live in the neighborhood, Rob Marino, gave us a very reasonable quote to do the work.
C:\Users\kiddqu\Dropbox\Personal\house\Crown Moulding\2015-04-27 09.28.09.jpg
The new deck provided the surface to stain the moulding.
C:\Users\kiddqu\Dropbox\Personal\house\Crown Moulding\2015-04-28 11.14.56.jpg
C:\Users\kiddqu\Dropbox\Personal\house\Crown Moulding\2015-04-28 11.14.51.jpg
C:\Users\kiddqu\Dropbox\Personal\house\Crown Moulding\2015-04-28 11.14.59.jpg
The upstairs bedroom where we used beaded board paneling for the ceiling came out great.
C:\Users\kiddqu\Dropbox\Personal\house\Crown Moulding\2015-04-29 11.28.58.jpg
The other rooms were absolutely amazing.  This is the dining room.
C:\Users\kiddqu\Dropbox\Personal\house\Crown Moulding\2015-04-28 15.46.36.jpg
The entrance foyer…
C:\Users\kiddqu\Dropbox\Personal\house\Crown Moulding\2015-04-28 09.01.19.jpg
Living room and dining room before…

C:\Users\kiddqu\Dropbox\Personal\house\Crown Moulding\2015-05-01 12.36.09.jpg
And after.
C:\Users\kiddqu\Dropbox\Personal\house\Crown Moulding\2015-04-30 10.25.04.jpg

Rob was even able to compensate where the 2x4 had twisted for the false wall I put up to cover ductwork.  We are beyond satisfied with his work.

Who's scared now???

Our front steps were frightful!!!
C:\Users\kiddqu\Dropbox\Personal\house\Steps\2014-09-27 15.17.32.jpg
According to Bruce Iverson who grew up in the house, they had been scary for the last 50 years.  The steps were deteriorating, tilted to the side, sloped the wrong way and ranged in height from 4 ½ inches tall to 9 ½ inches tall.  In the fall of 2014, I started the repairs.
C:\Users\kiddqu\Dropbox\Personal\house\Steps\2014-11-24 19.40.16.jpg
The front porch steps had deteriorated to the point that some of the steps had holes.  I had researched options to repair the steps and had found a Rapid Set product called Cement All which could be applied from ¼ to 4 inches thick.  It set in 15 minutes and dried to its ultimate 9000psi strength in one hour.  But it did have to be mixed by hand. I tried it out on the front porch steps.
C:\Users\kiddqu\Dropbox\Personal\house\Steps\2014-09-15 16.40.59.jpg
It went down fairly easily and I did a broom finish to make the steps less slippery.  I had discovered the Cement All product on a Mike Haduck video on how to repair steps. I used what I learned from watching his videos to repair the front steps.
C:\Users\kiddqu\Dropbox\Personal\house\Steps\2014-09-27 17.14.51.jpg
Basically it was just a re-surfacing of the steps that were otherwise substantially structurally sound.  Using a 2x8 and 3 cinderblocks as a form.  I leveled the 2x8 and then filled behind it with Cement All.  
C:\Users\kiddqu\Dropbox\Personal\house\Steps\2014-09-30 17.27.10.jpg
Each step had a slight slope forward so that water would drain off the steps.  
C:\Users\kiddqu\Dropbox\Personal\house\Steps\2014-10-02 10.26.53.jpg
And I generally was able to complete a step an evening.
C:\Users\kiddqu\Dropbox\Personal\house\Steps\2014-10-07 18.59.05.jpg
Once I got past the first four steps, I had to switch products to Quikrete Fast Setting Mix as the resurfacing layers I needed were going to be more than 4 inches thick.  
C:\Users\kiddqu\Dropbox\Personal\house\Steps\2014-10-09 11.50.30.jpg
With the fast setting mix, I could still do a step a day. (and the mailman could get up them to deliver our mail.)
C:\Users\kiddqu\Dropbox\Personal\house\Steps\2014-10-15 16.30.20.jpg
Plus now I had the advantage of being able to use a concrete mixer. (I had bought one a couple of years earlier for this project and our friend John Hall put it together for me.)  For the very top step / landing, I decided to slope it back to the quarter circle to minimize the amount of runoff going down the steps.
C:\Users\kiddqu\Dropbox\Personal\house\Steps\2014-10-16 17.24.55.jpg
But sometimes the best laid plans don't keep you from running out of cement mix before you finish your pour.
C:\Users\kiddqu\Dropbox\Personal\house\Steps\2014-10-16 18.06.13.jpg
So it had to be wrapped up the next day.  This was all we were able to get down on the steps for the fall of 2014.  They had to cure for 30 days before they could be sealed.
C:\Users\kiddqu\Dropbox\Personal\house\Steps\2015-02-25 11.13.30.jpg
In February 2015, we took a vacation to Isla Mujeres, Mexico and while there we picked up some tile for new house numbers.
C:\Users\kiddqu\Dropbox\Personal\house\Steps\2015-08-30 14.24.11.jpg
Later that summer at the end of August, we painted the steps with a gray concrete sealer
C:\Users\kiddqu\Dropbox\Personal\house\Steps\2015-08-30 18.07.39.jpg
And then painted them.
C:\Users\kiddqu\Dropbox\Personal\house\Steps\2015-08-30 18.40.49.jpg
The paint was a bit more red than we wanted.  We expected more of a maroon or burgundy from the paint chip
C:\Users\kiddqu\Dropbox\Personal\house\Steps\2015-11-11 16.42.26.jpg

Curb appeal has definitely been stepped up from 4 years ago.