Our front steps were frightful!!!

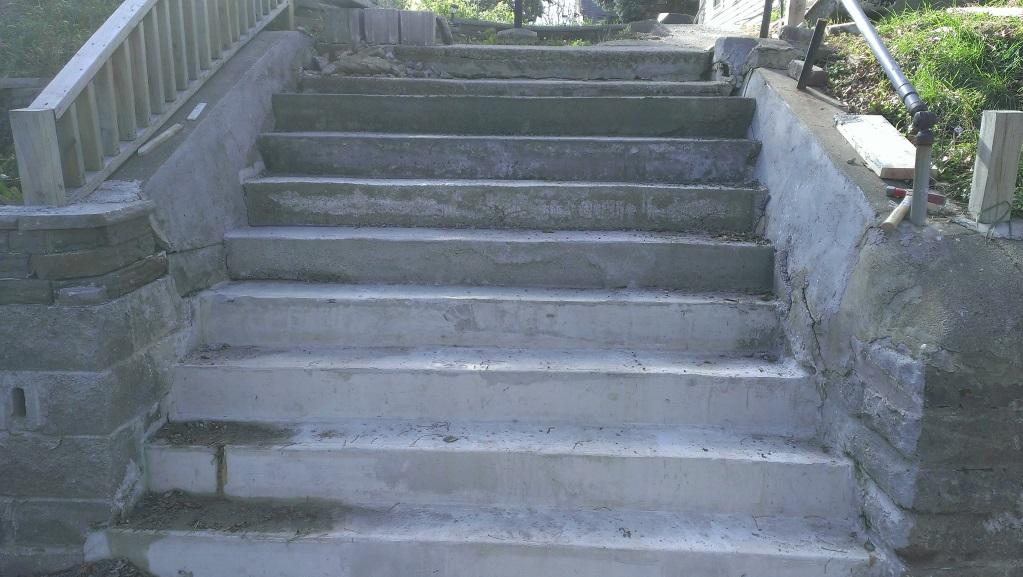
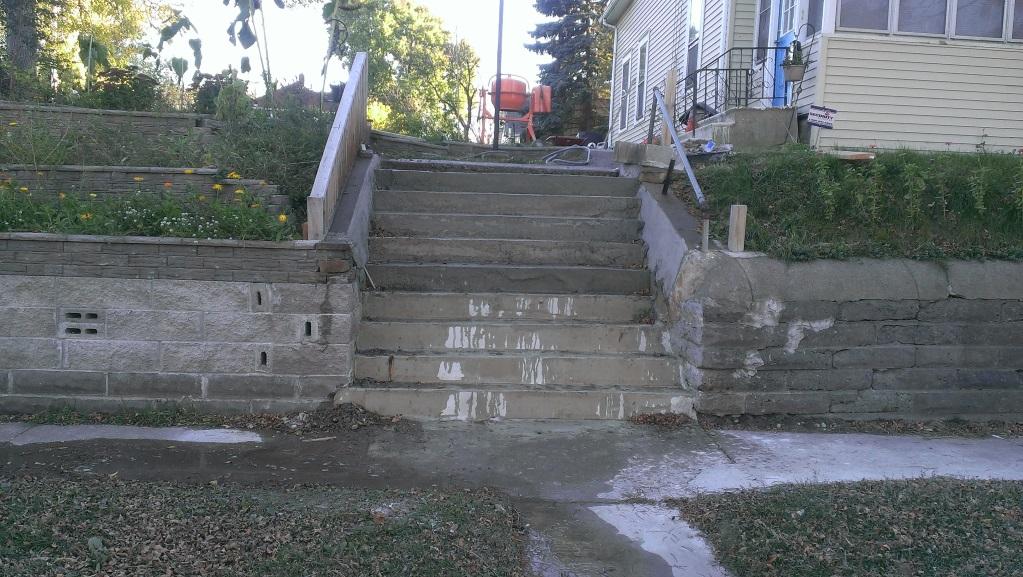
According to Bruce Iverson who grew up in the house, they had been scary for the last 50 years. The steps were deteriorating, tilted to the side, sloped the wrong way and ranged in height from 4 ½ inches tall to 9 ½ inches tall. In the fall of 2014, I started the repairs.
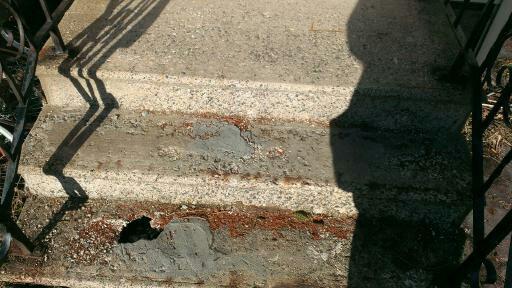
The front porch steps had deteriorated to the point that some of the steps had holes. I had researched options to repair the steps and had found a Rapid Set product called Cement All which could be applied from ¼ to 4 inches thick. It set in 15 minutes and dried to its ultimate 9000psi strength in one hour. But it did have to be mixed by hand. I tried it out on the front porch steps.
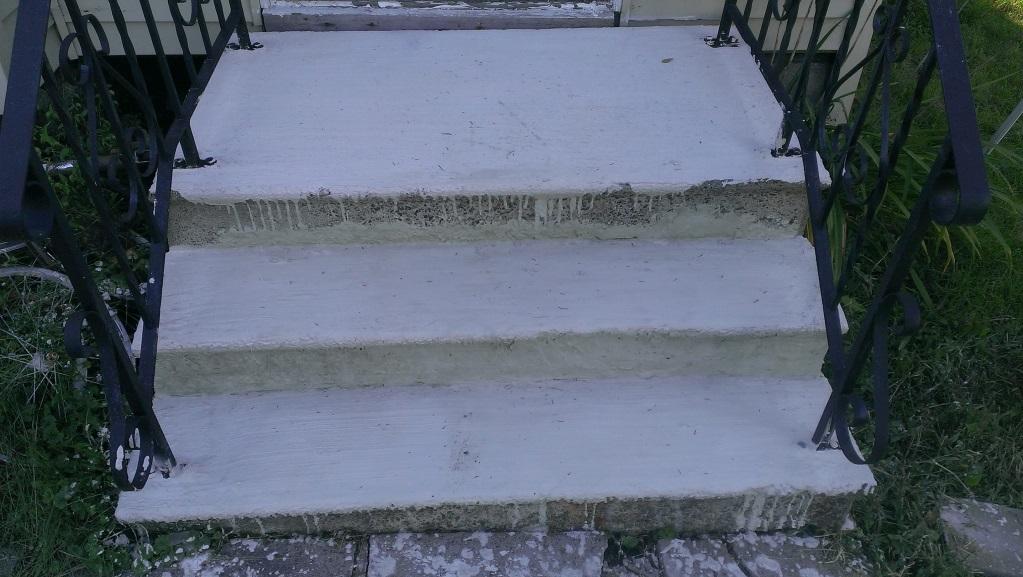
It went down fairly easily and I did a broom finish to make the steps less slippery. I had discovered the Cement All product on a Mike Haduck video on how to repair steps. I used what I learned from watching his videos to repair the front steps.

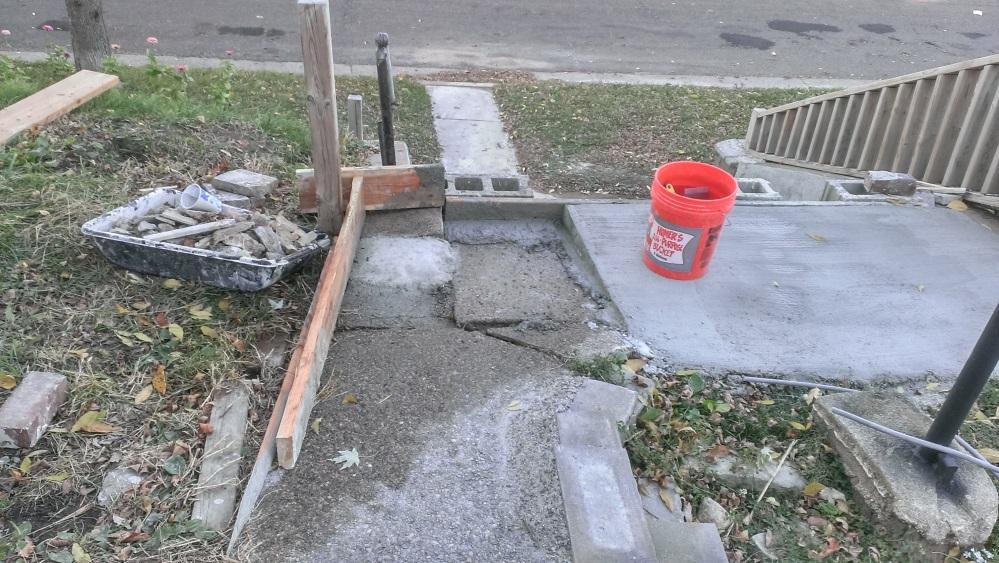
Basically it was just a re-surfacing of the steps that were otherwise substantially structurally sound. Using a 2x8 and 3 cinderblocks as a form. I leveled the 2x8 and then filled behind it with Cement All.
Each step had a slight slope forward so that water would drain off the steps.

And I generally was able to complete a step an evening.
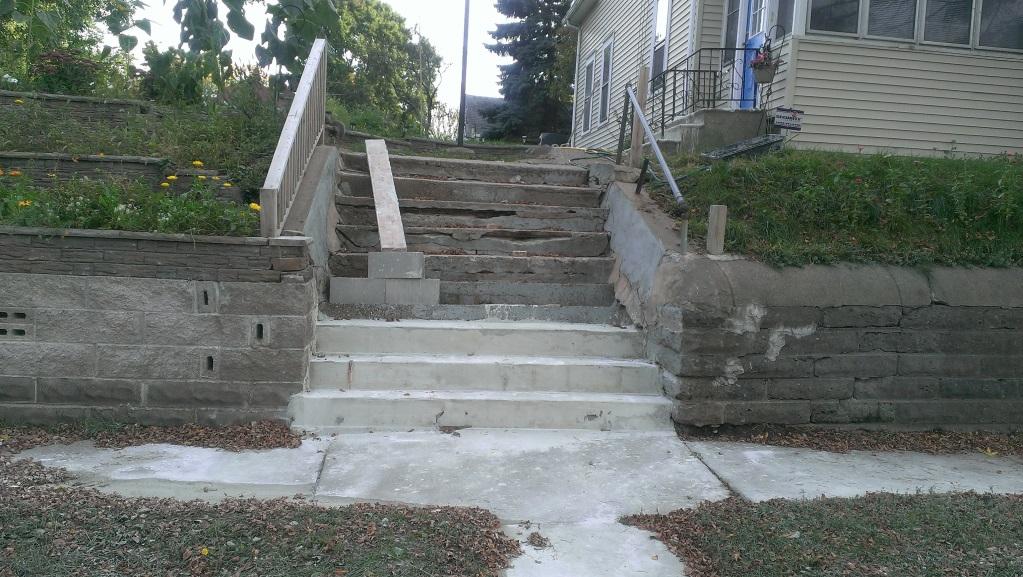
Once I got past the first four steps, I had to switch products to Quikrete Fast Setting Mix as the resurfacing layers I needed were going to be more than 4 inches thick.
With the fast setting mix, I could still do a step a day. (and the mailman could get up them to deliver our mail.)
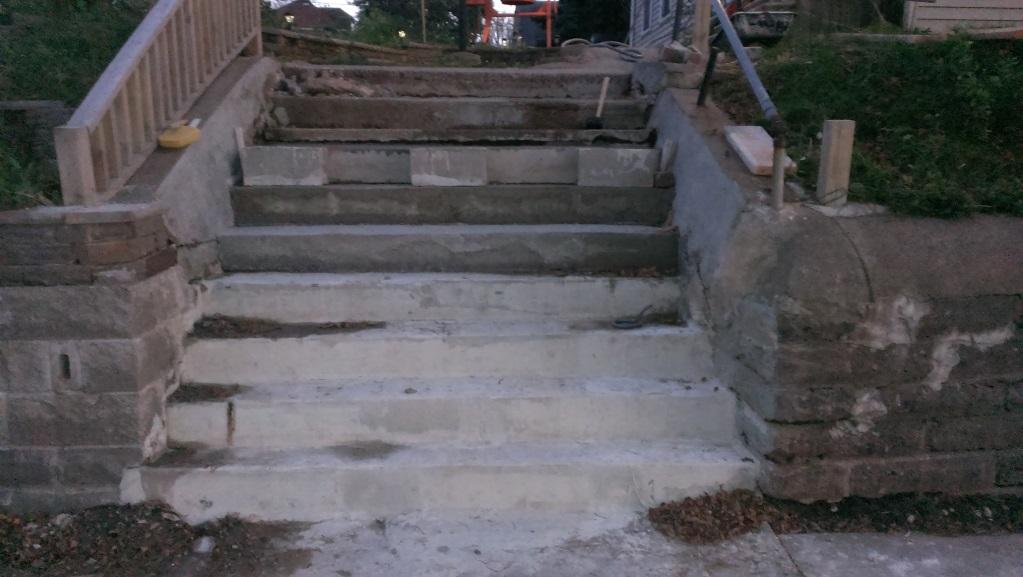
Plus now I had the advantage of being able to use a concrete mixer. (I had bought one a couple of years earlier for this project and our friend John Hall put it together for me.) For the very top step / landing, I decided to slope it back to the quarter circle to minimize the amount of runoff going down the steps.
But sometimes the best laid plans don't keep you from running out of cement mix before you finish your pour.

So it had to be wrapped up the next day. This was all we were able to get down on the steps for the fall of 2014. They had to cure for 30 days before they could be sealed.

In February 2015, we took a vacation to Isla Mujeres, Mexico and while there we picked up some tile for new house numbers.

Later that summer at the end of August, we painted the steps with a gray concrete sealer
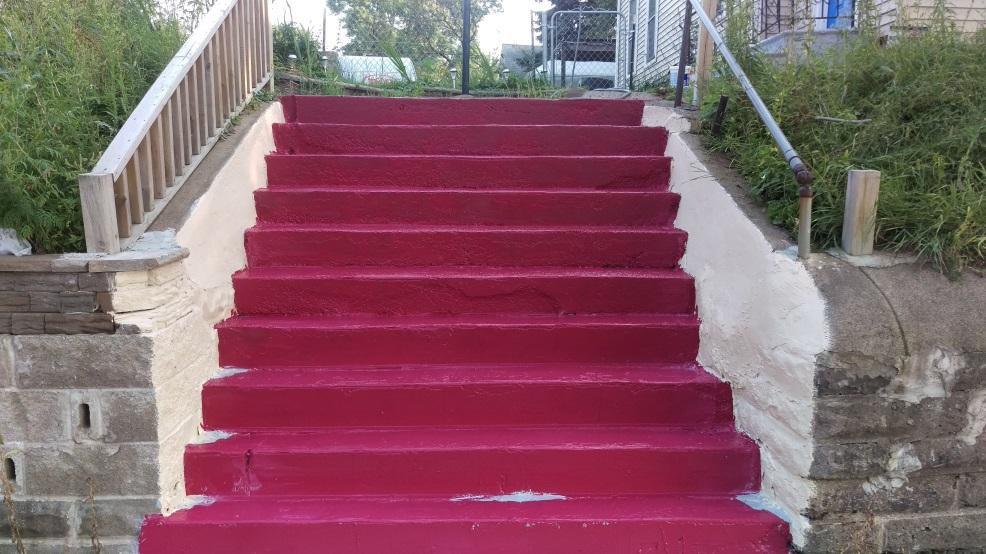
And then painted them.
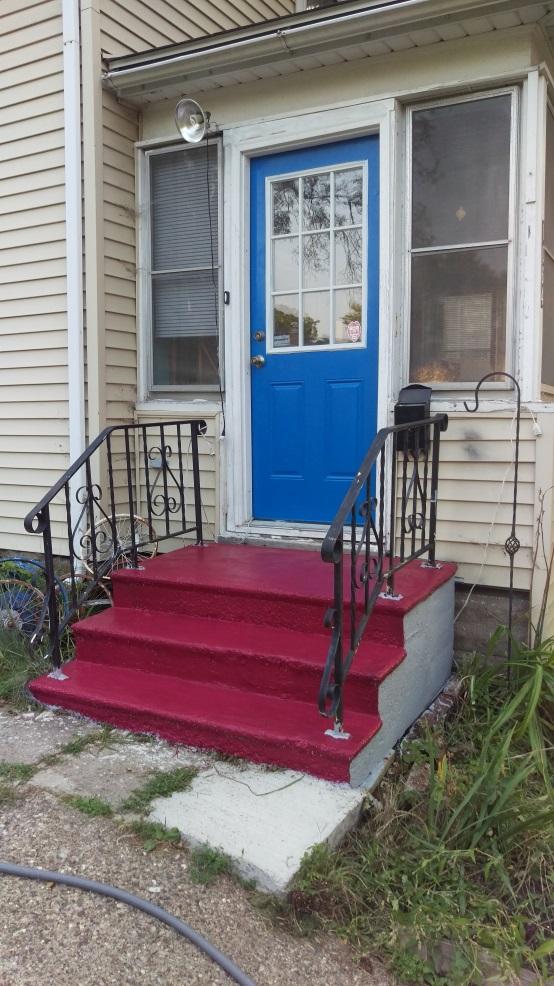
The paint was a bit more red than we wanted. We expected more of a maroon or burgundy from the paint chip

Curb appeal has definitely been stepped up from 4 years ago.
No comments:
Post a Comment